Post by ollknot on Mar 2, 2017 8:45:41 GMT -5
The images from the restoration have been uploaded to my Flickr account
www.flickr.com/photos/ollknot/albums/72157680848938696
It started off as a HM that had been routed for a humbucker during the 90s, the owner installed a pickguard to hide the router job.
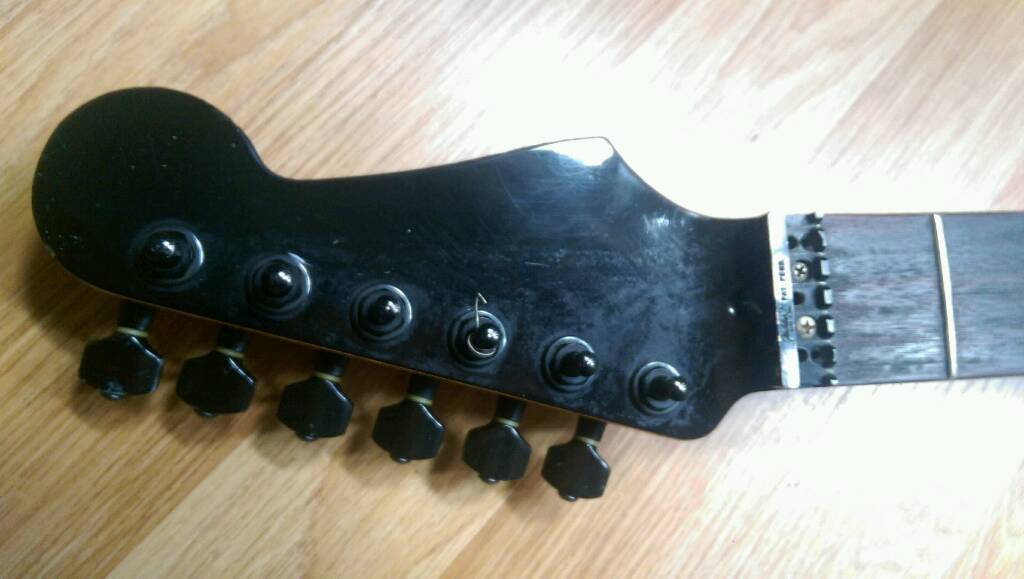 Strat HM Restore by Olley Neale, on Flickr
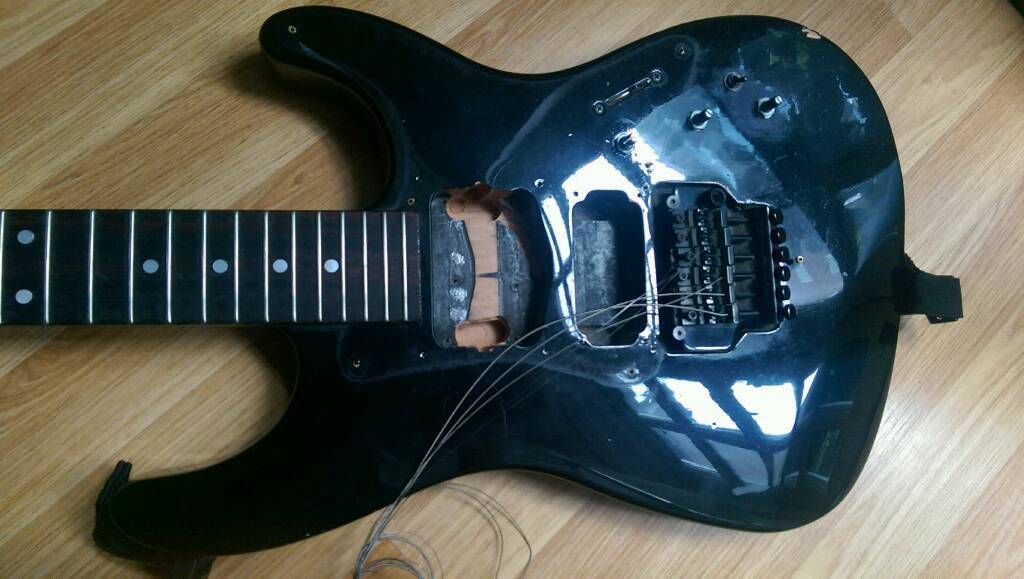 Strat HM Restore by Olley Neale, on Flickr
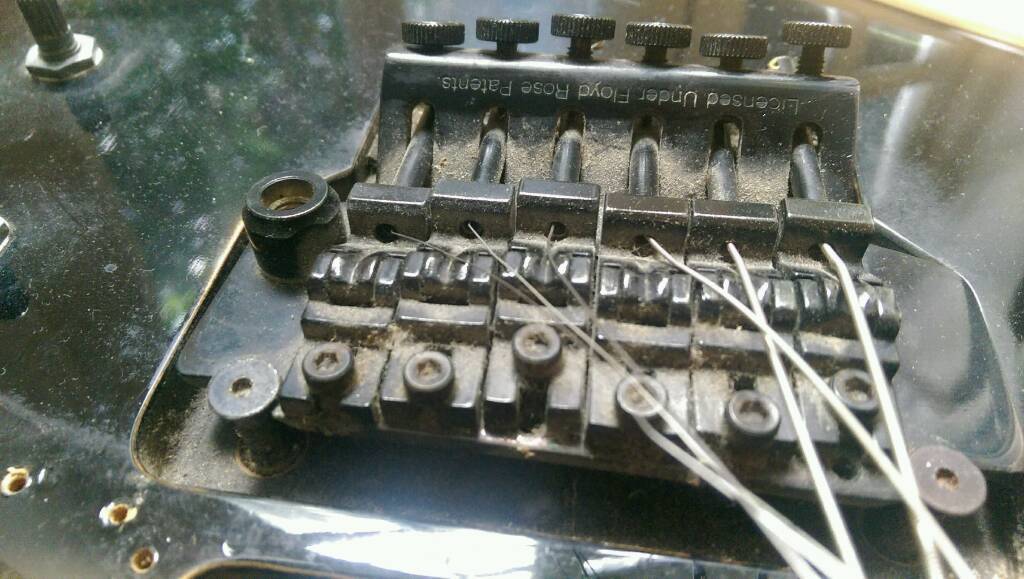 Strat HM Restore by Olley Neale, on Flickr
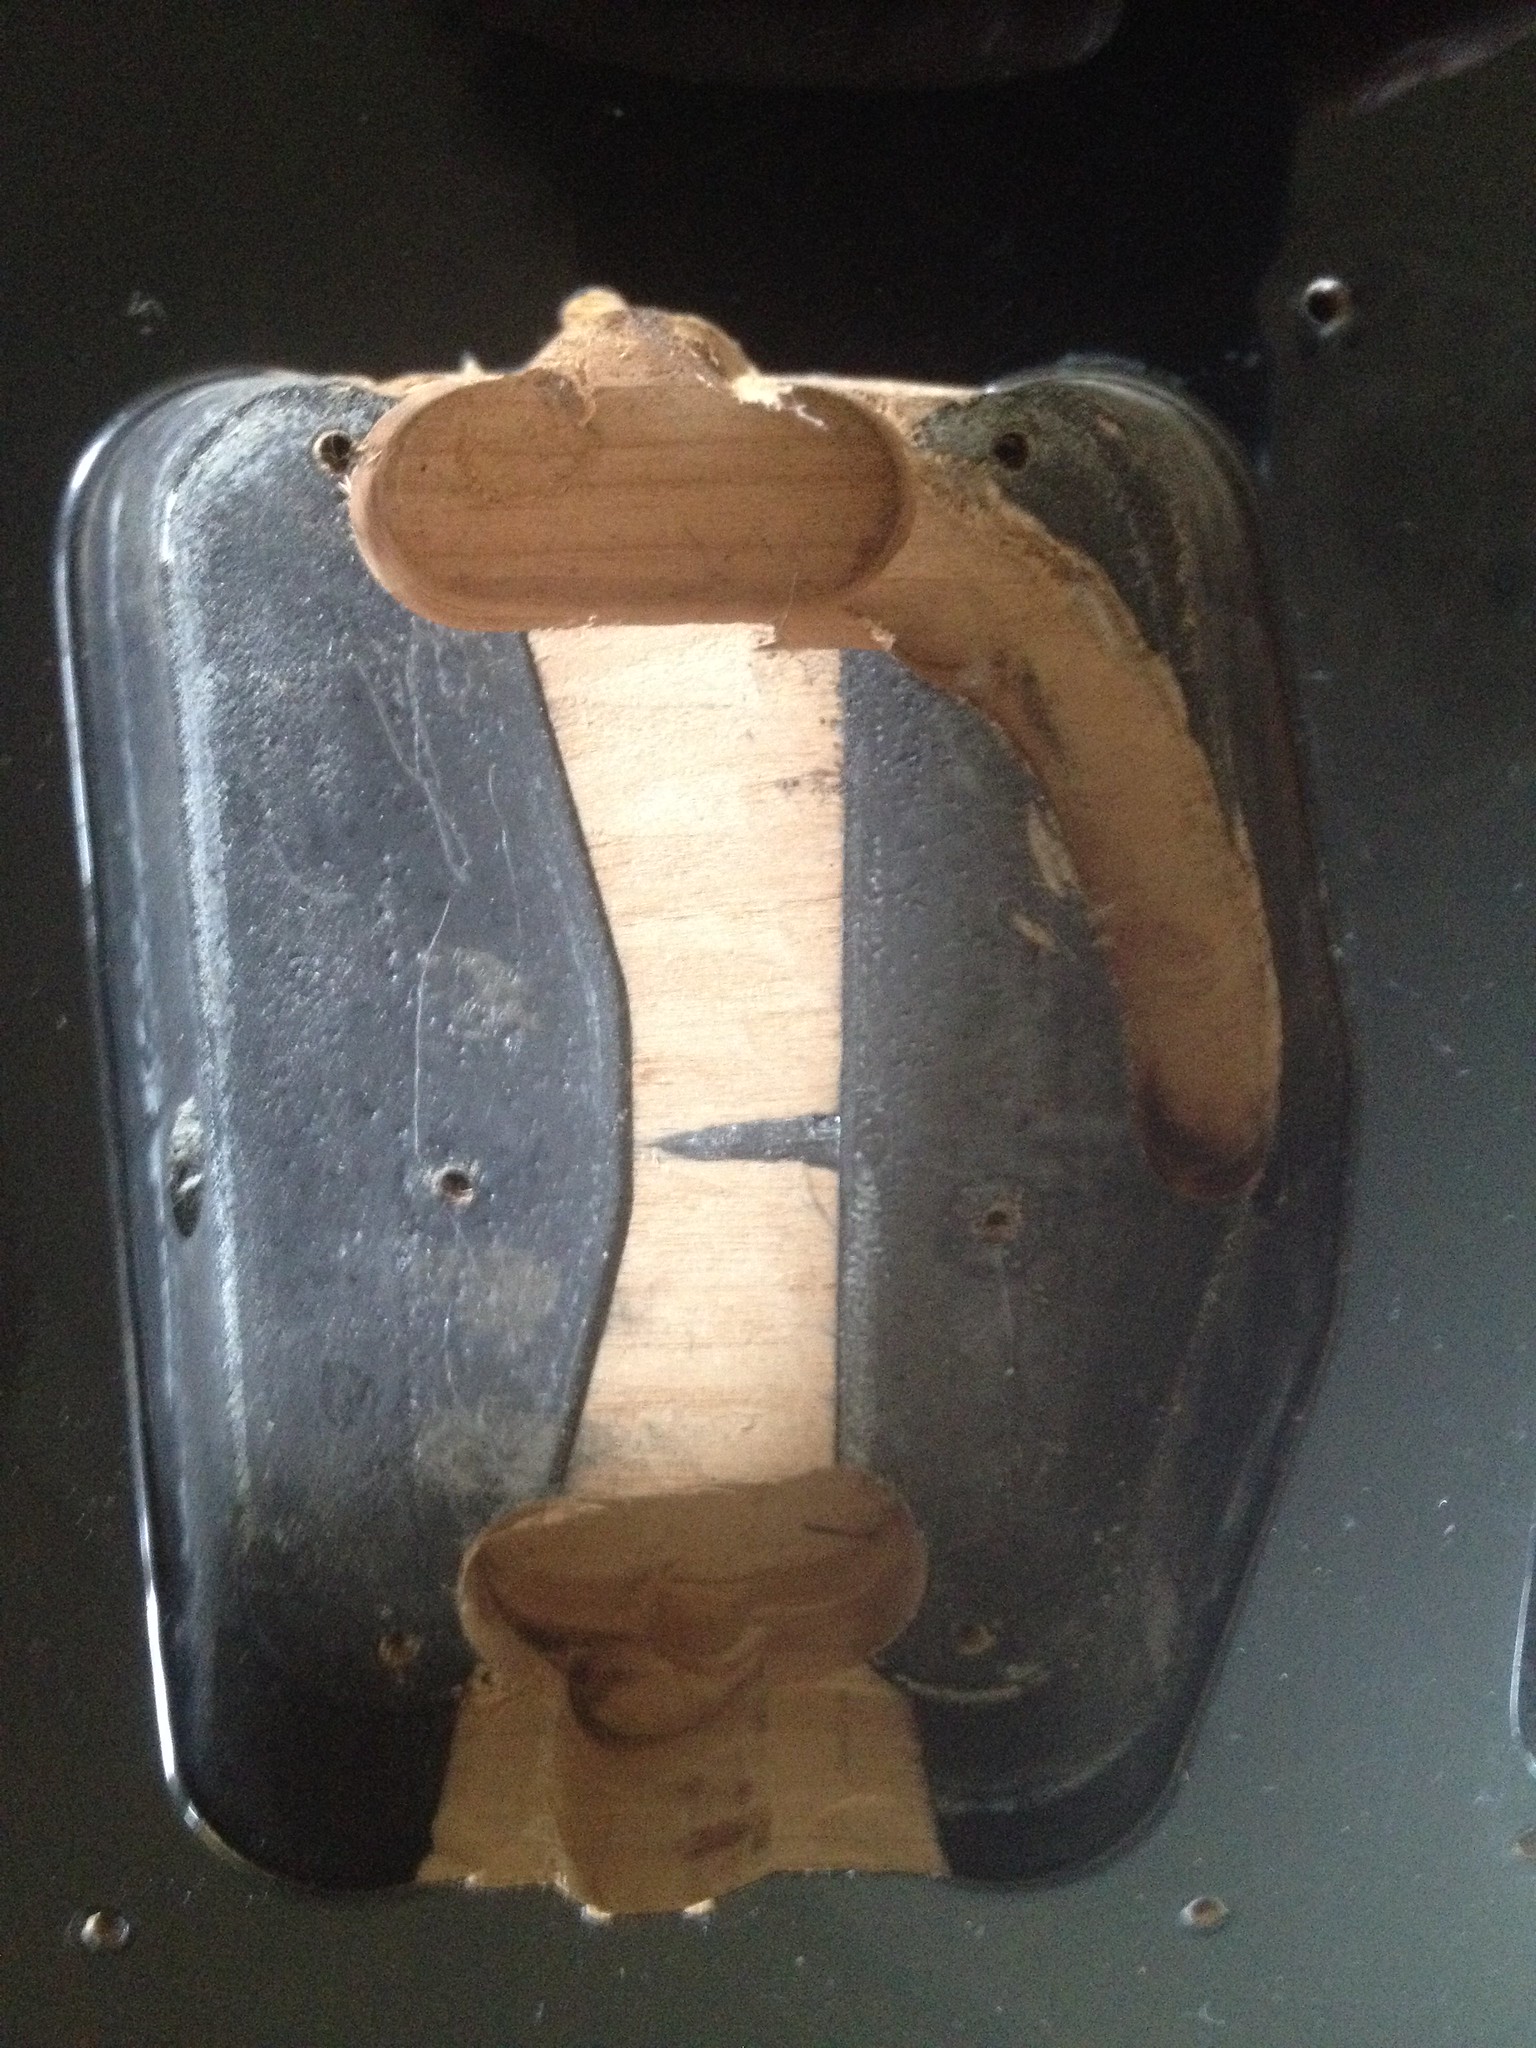 Strat HM Restore by Olley Neale, on Flickr
After disassembling the guitar I could tackle how I was going to go about restoring the to single coil routes.
The usual practice would be to route out a larger area and insert a block of wood cut to size then route out for the singles but I wanted to avoid removing more wood, so i opted for plugging the space with a spare piece of ash I had knocking about.
 Strat HM Restore by Olley Neale, on Flickr
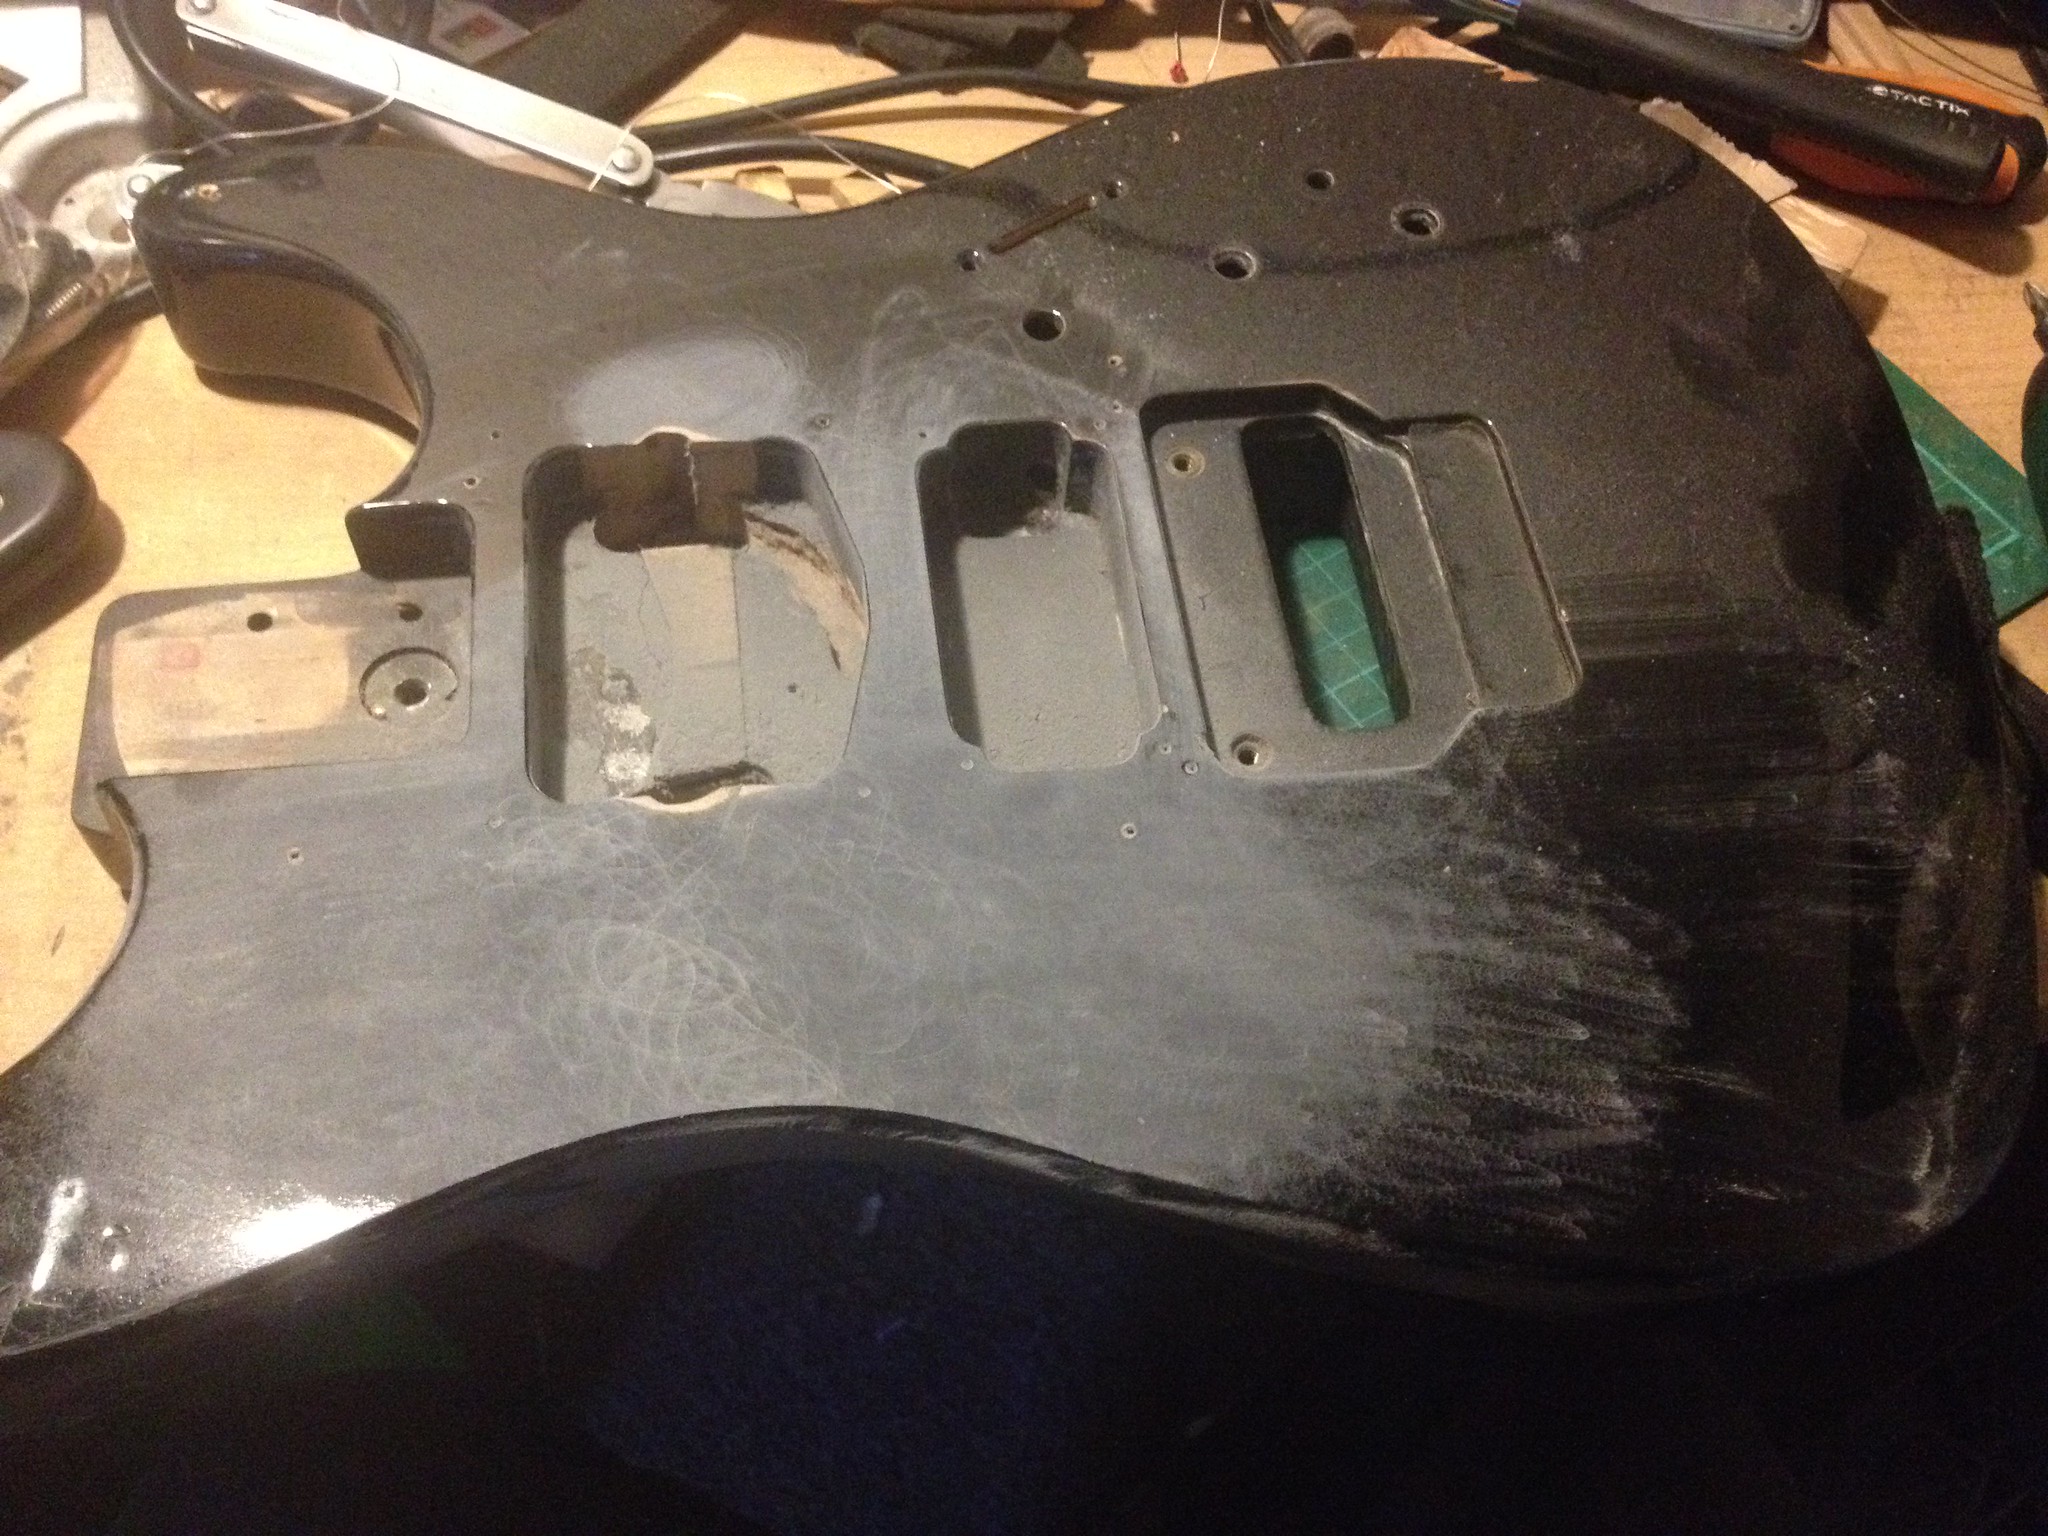
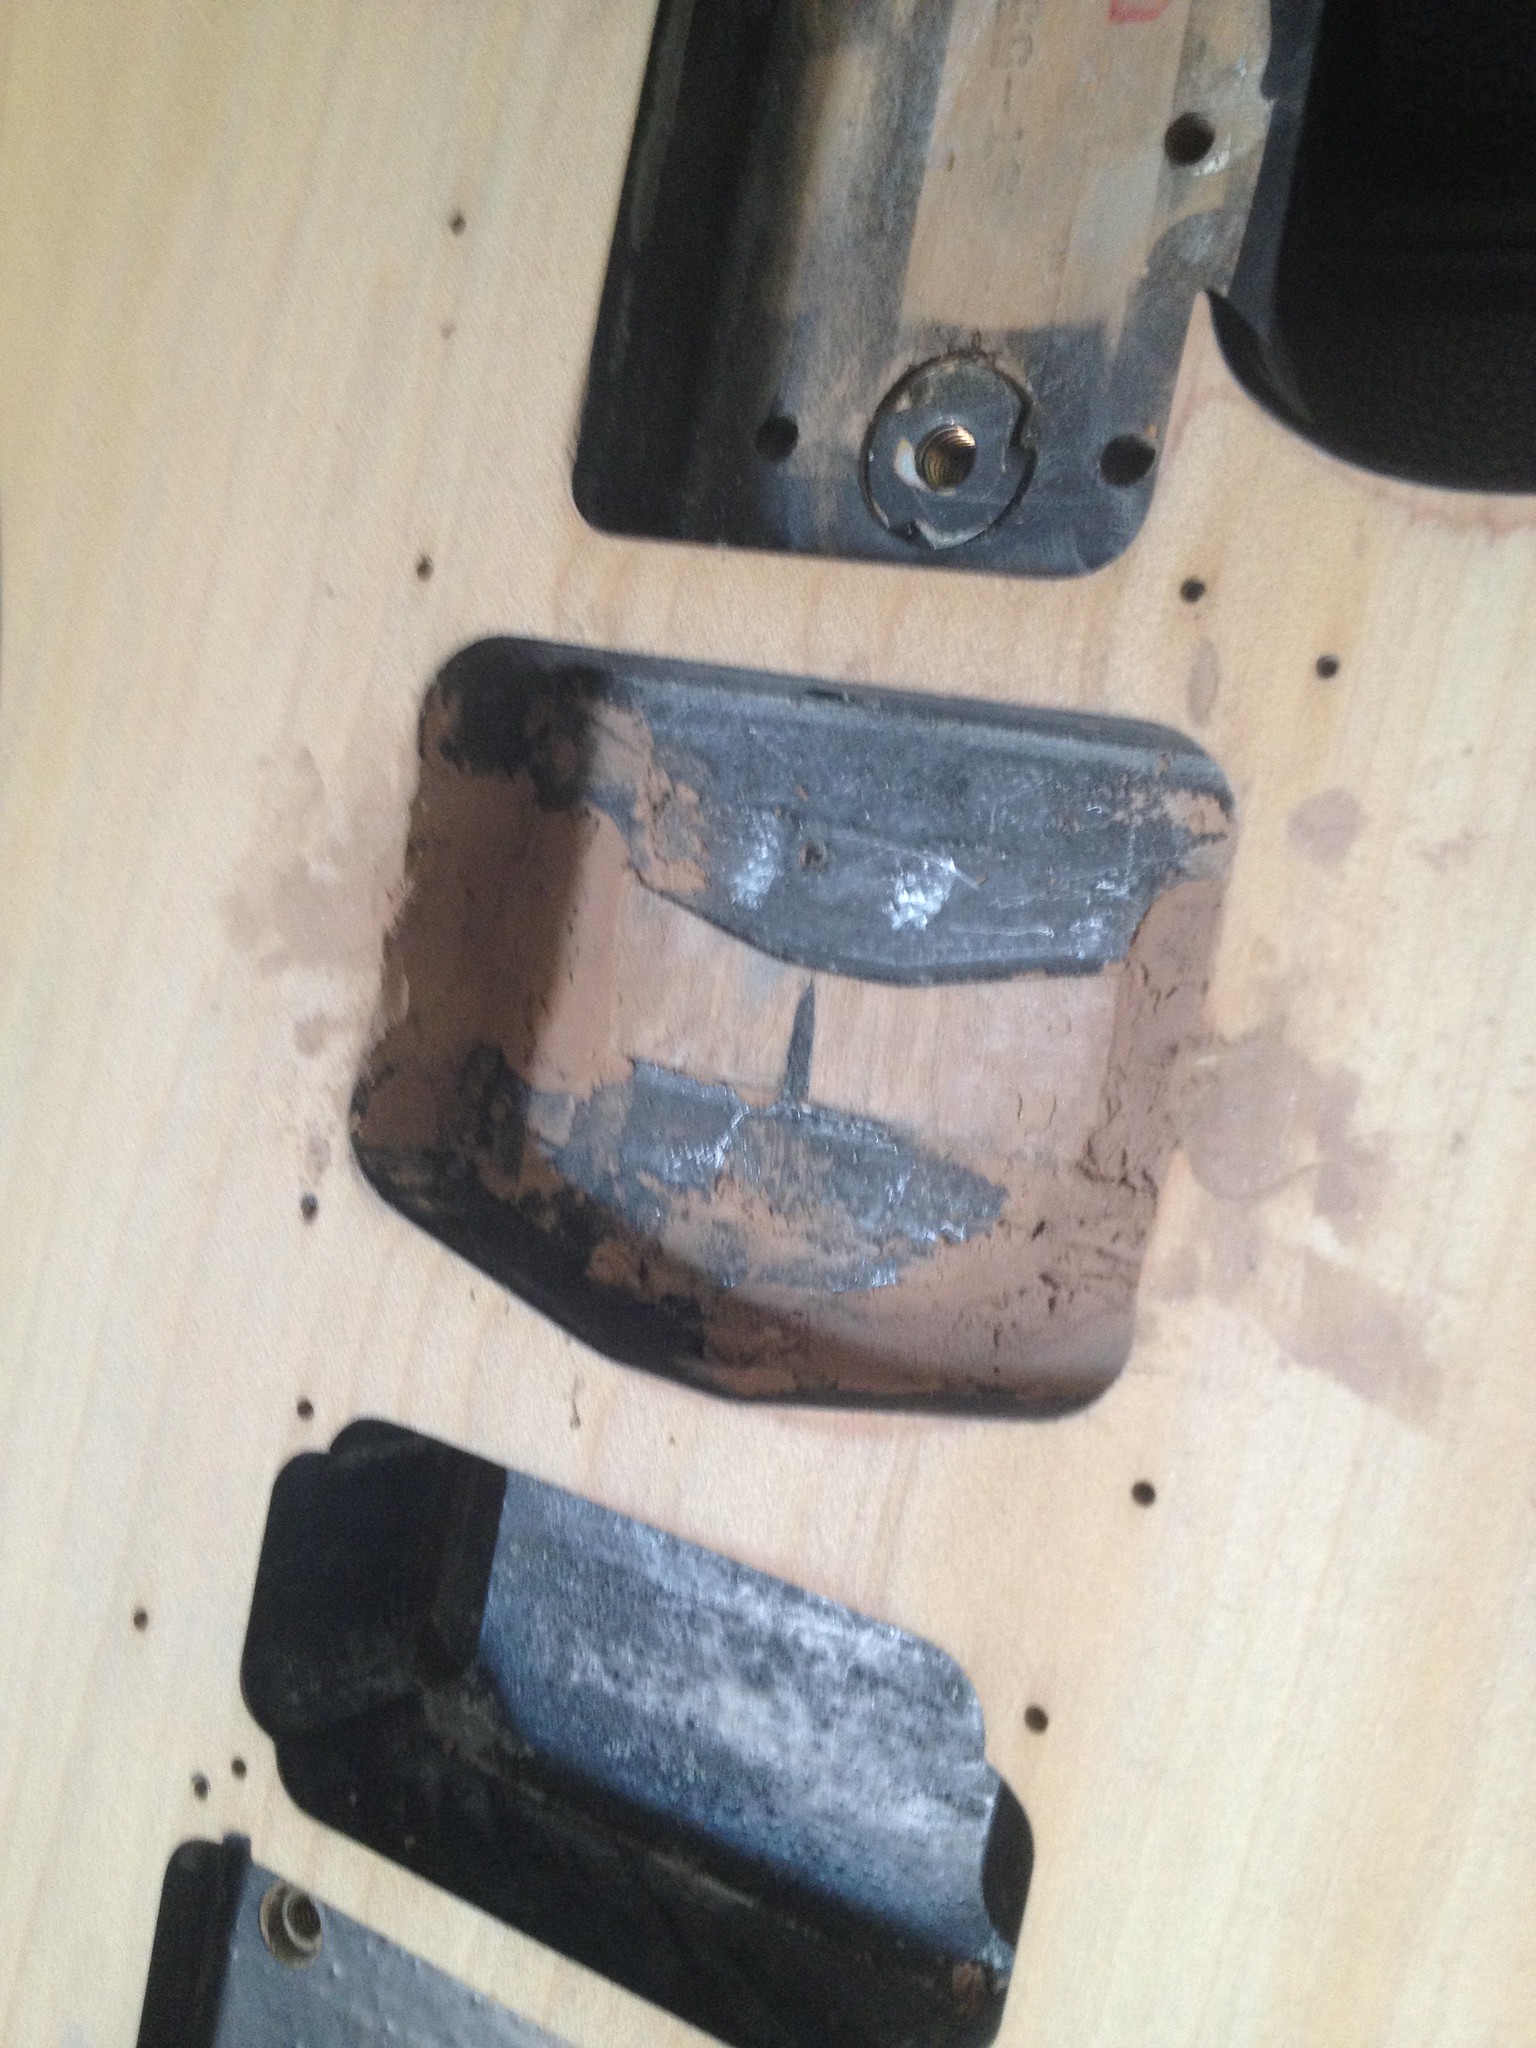
First job was to remove the paint off the top, this revealed a crack in the body that I have since glued and clamped and is now stable. Removing the paint took a fair while even with my random orbital sander, that paint and lacquer is super hard!
 Strat HM Restore by Olley Neale, on Flickr
 Strat HM Restore by Olley Neale, on Flickr
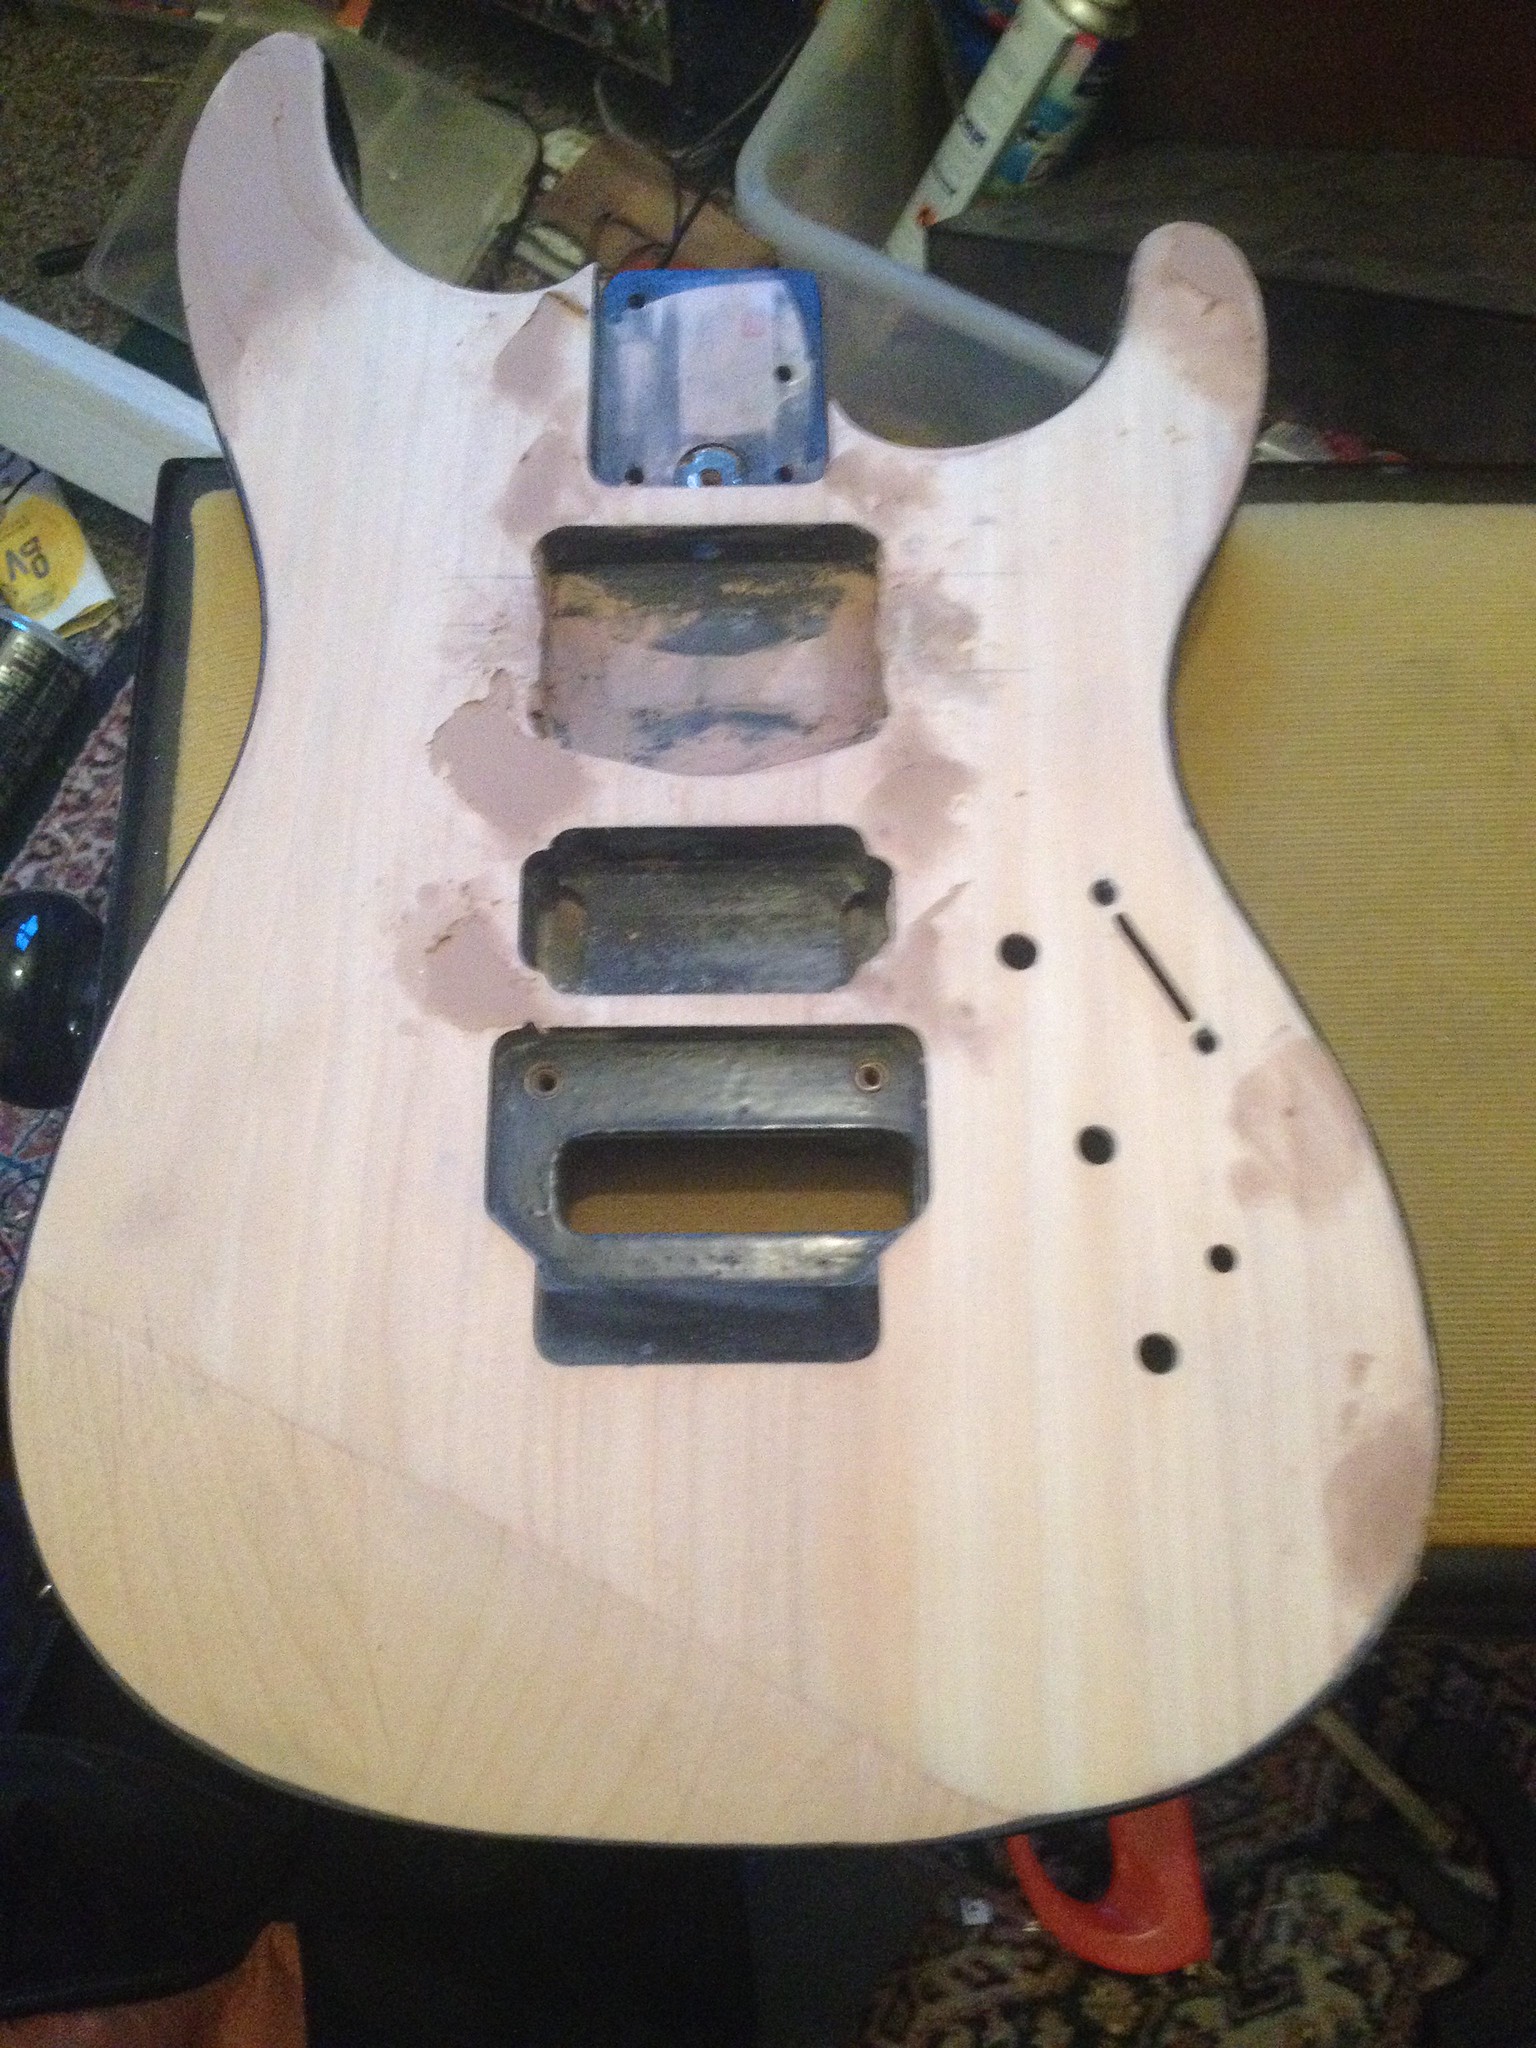
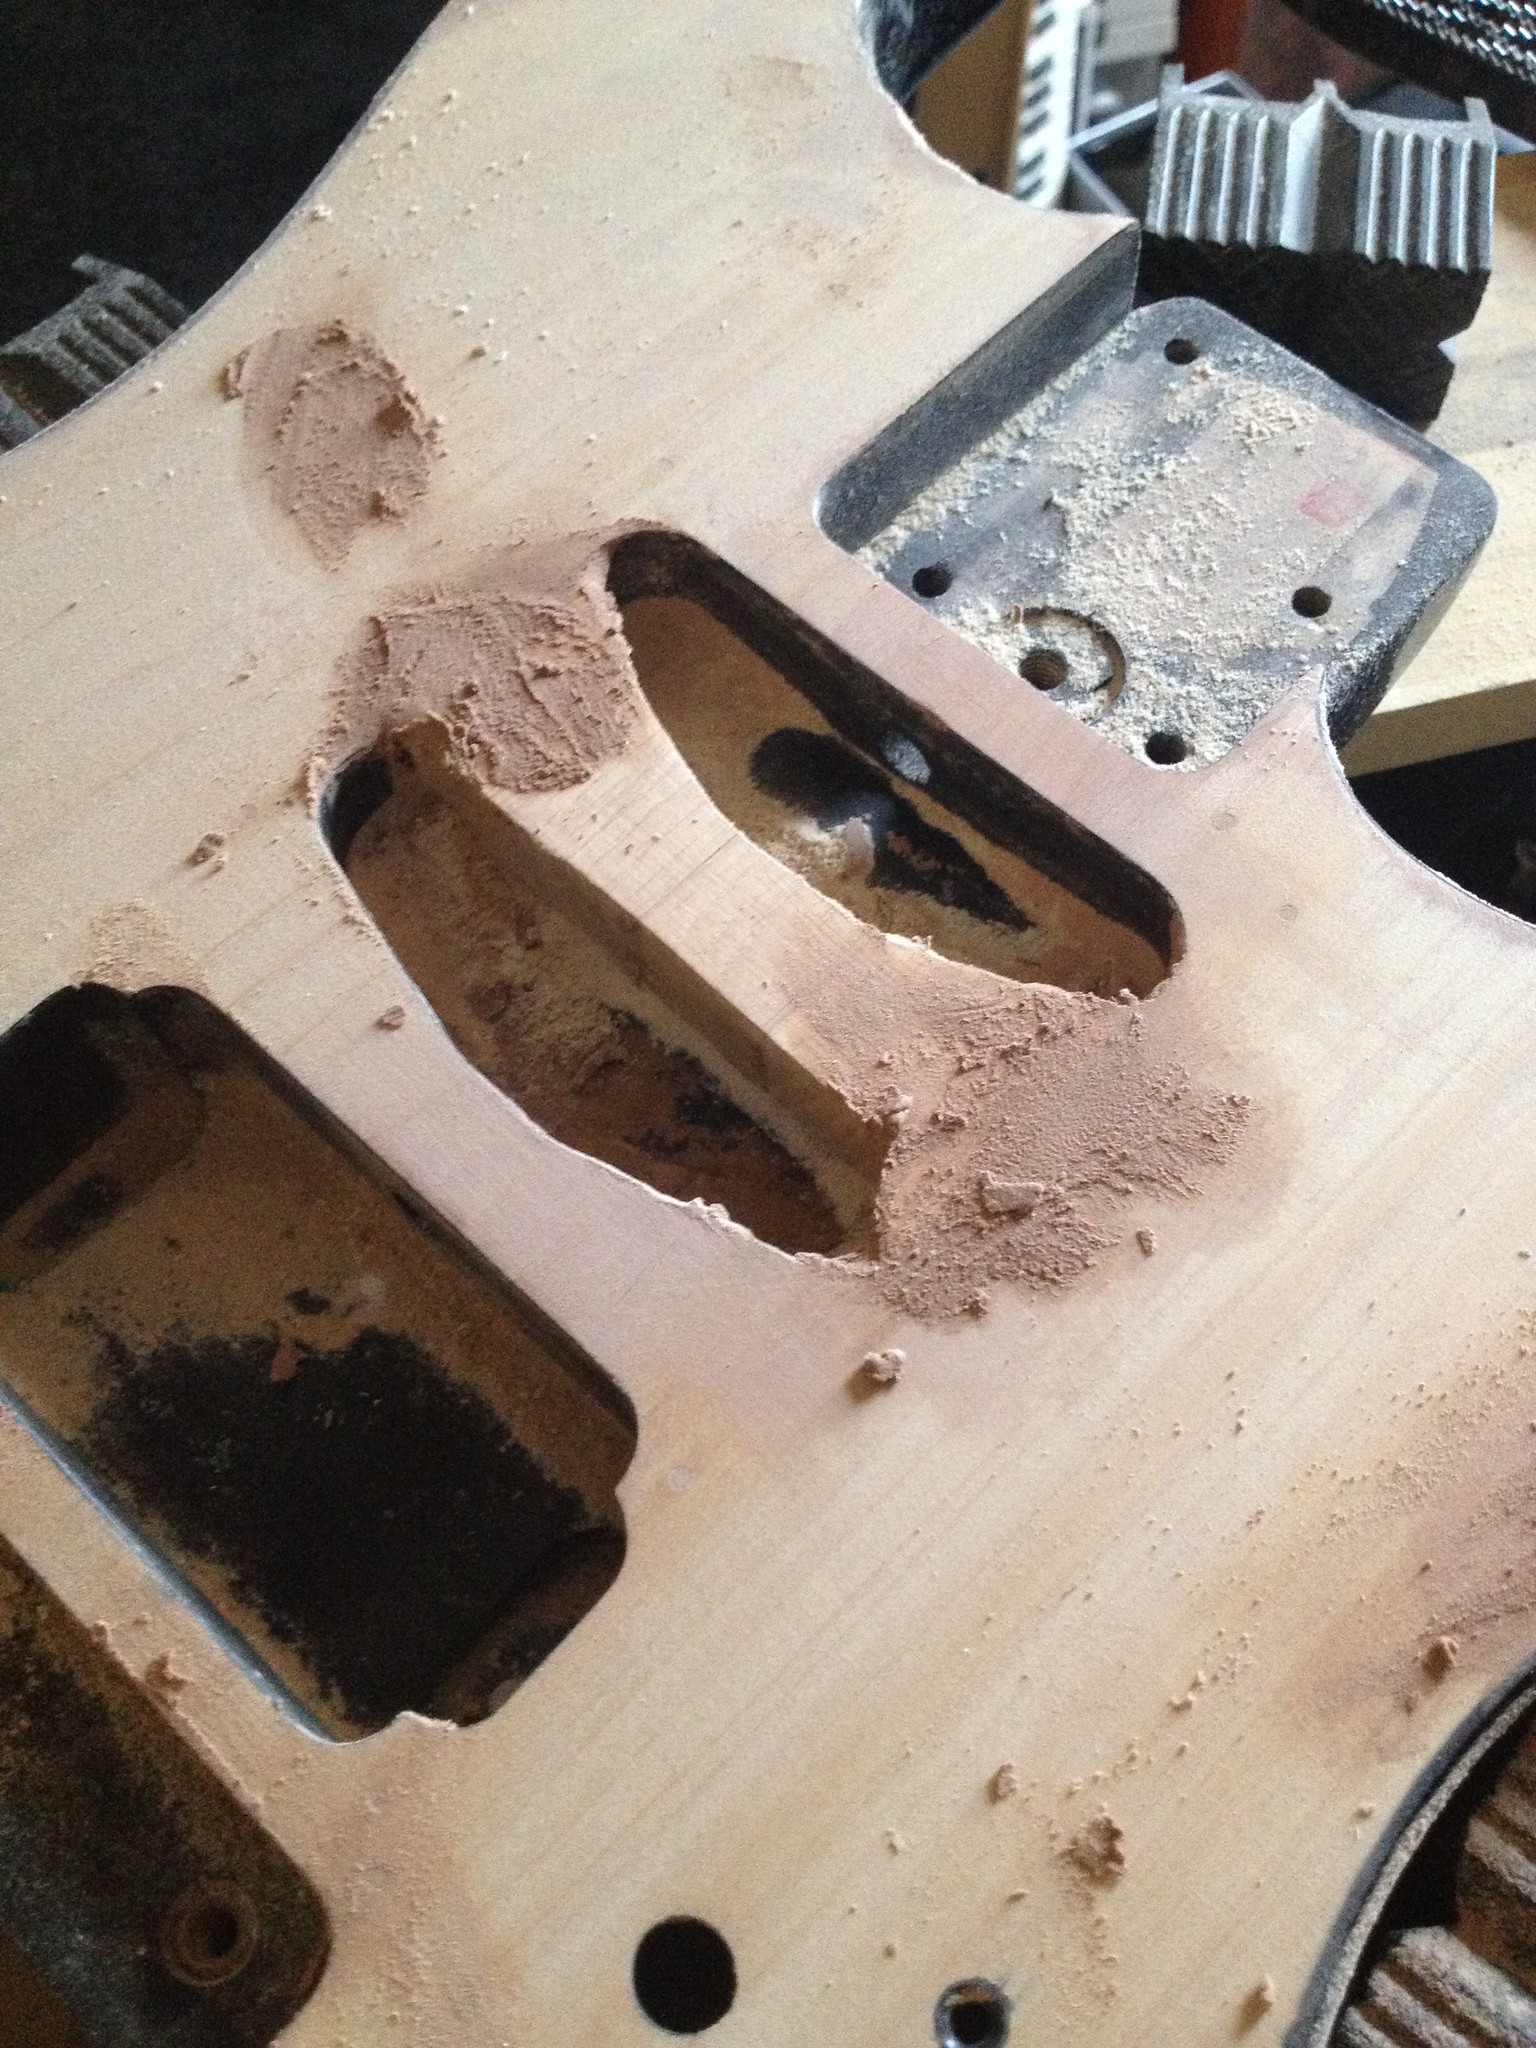
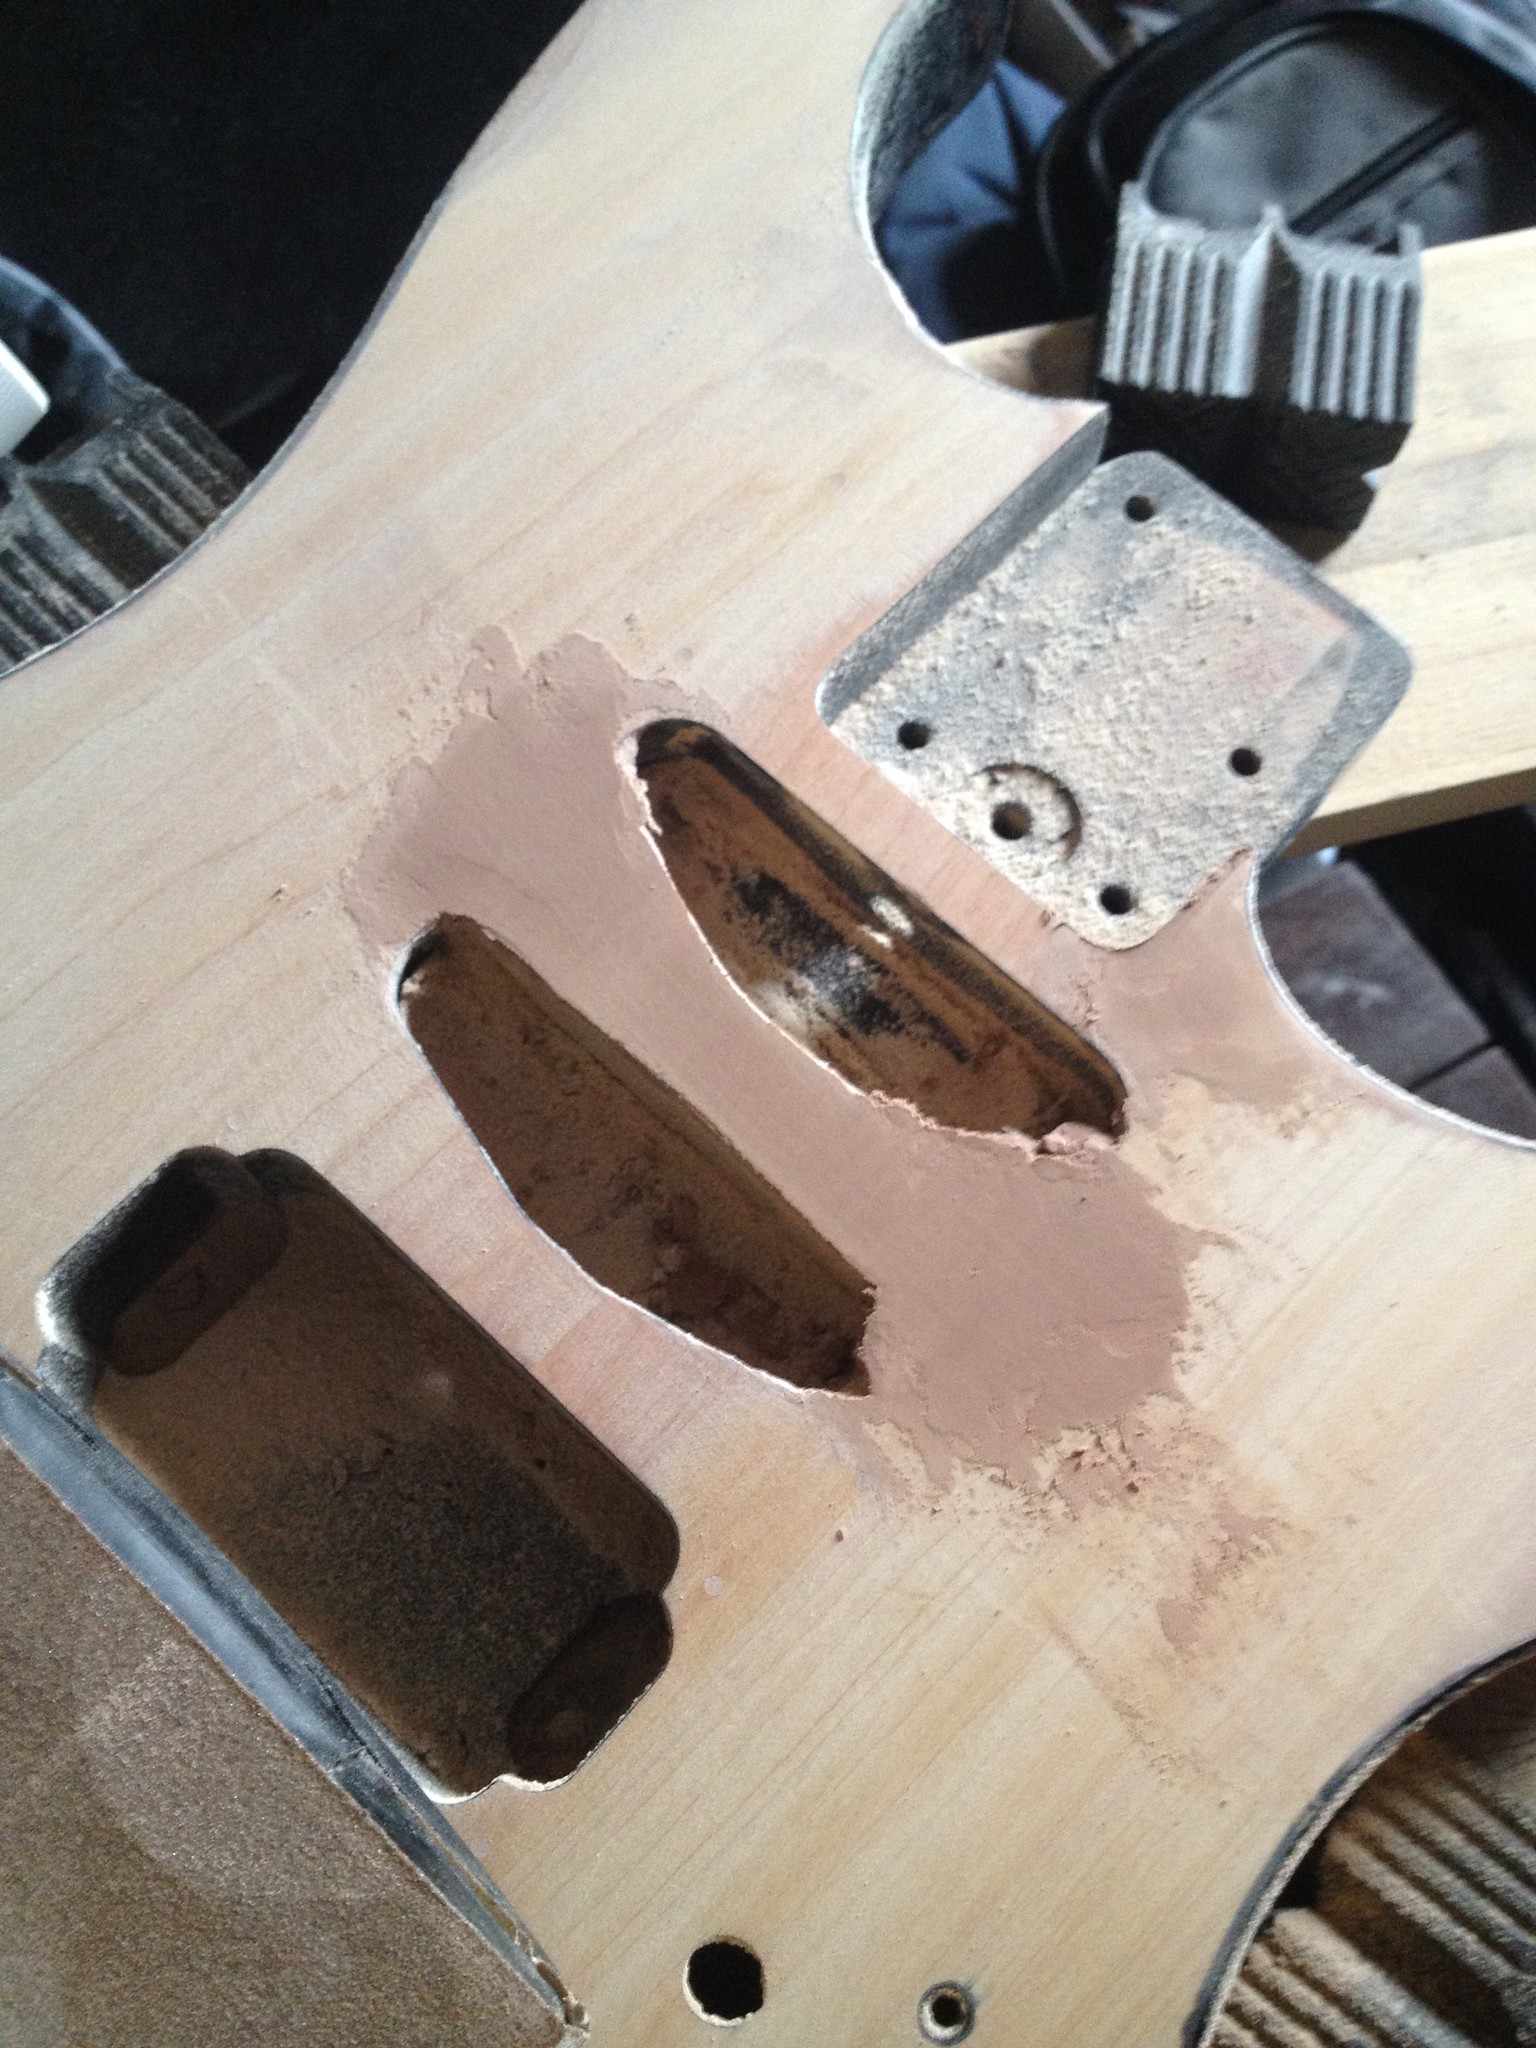
When the top was back to wood I could fill the channels routed in and a few odd spots with wood filler. These were smoothed out and made flush with the original routes.
 Strat HM Restore by Olley Neale, on Flickr
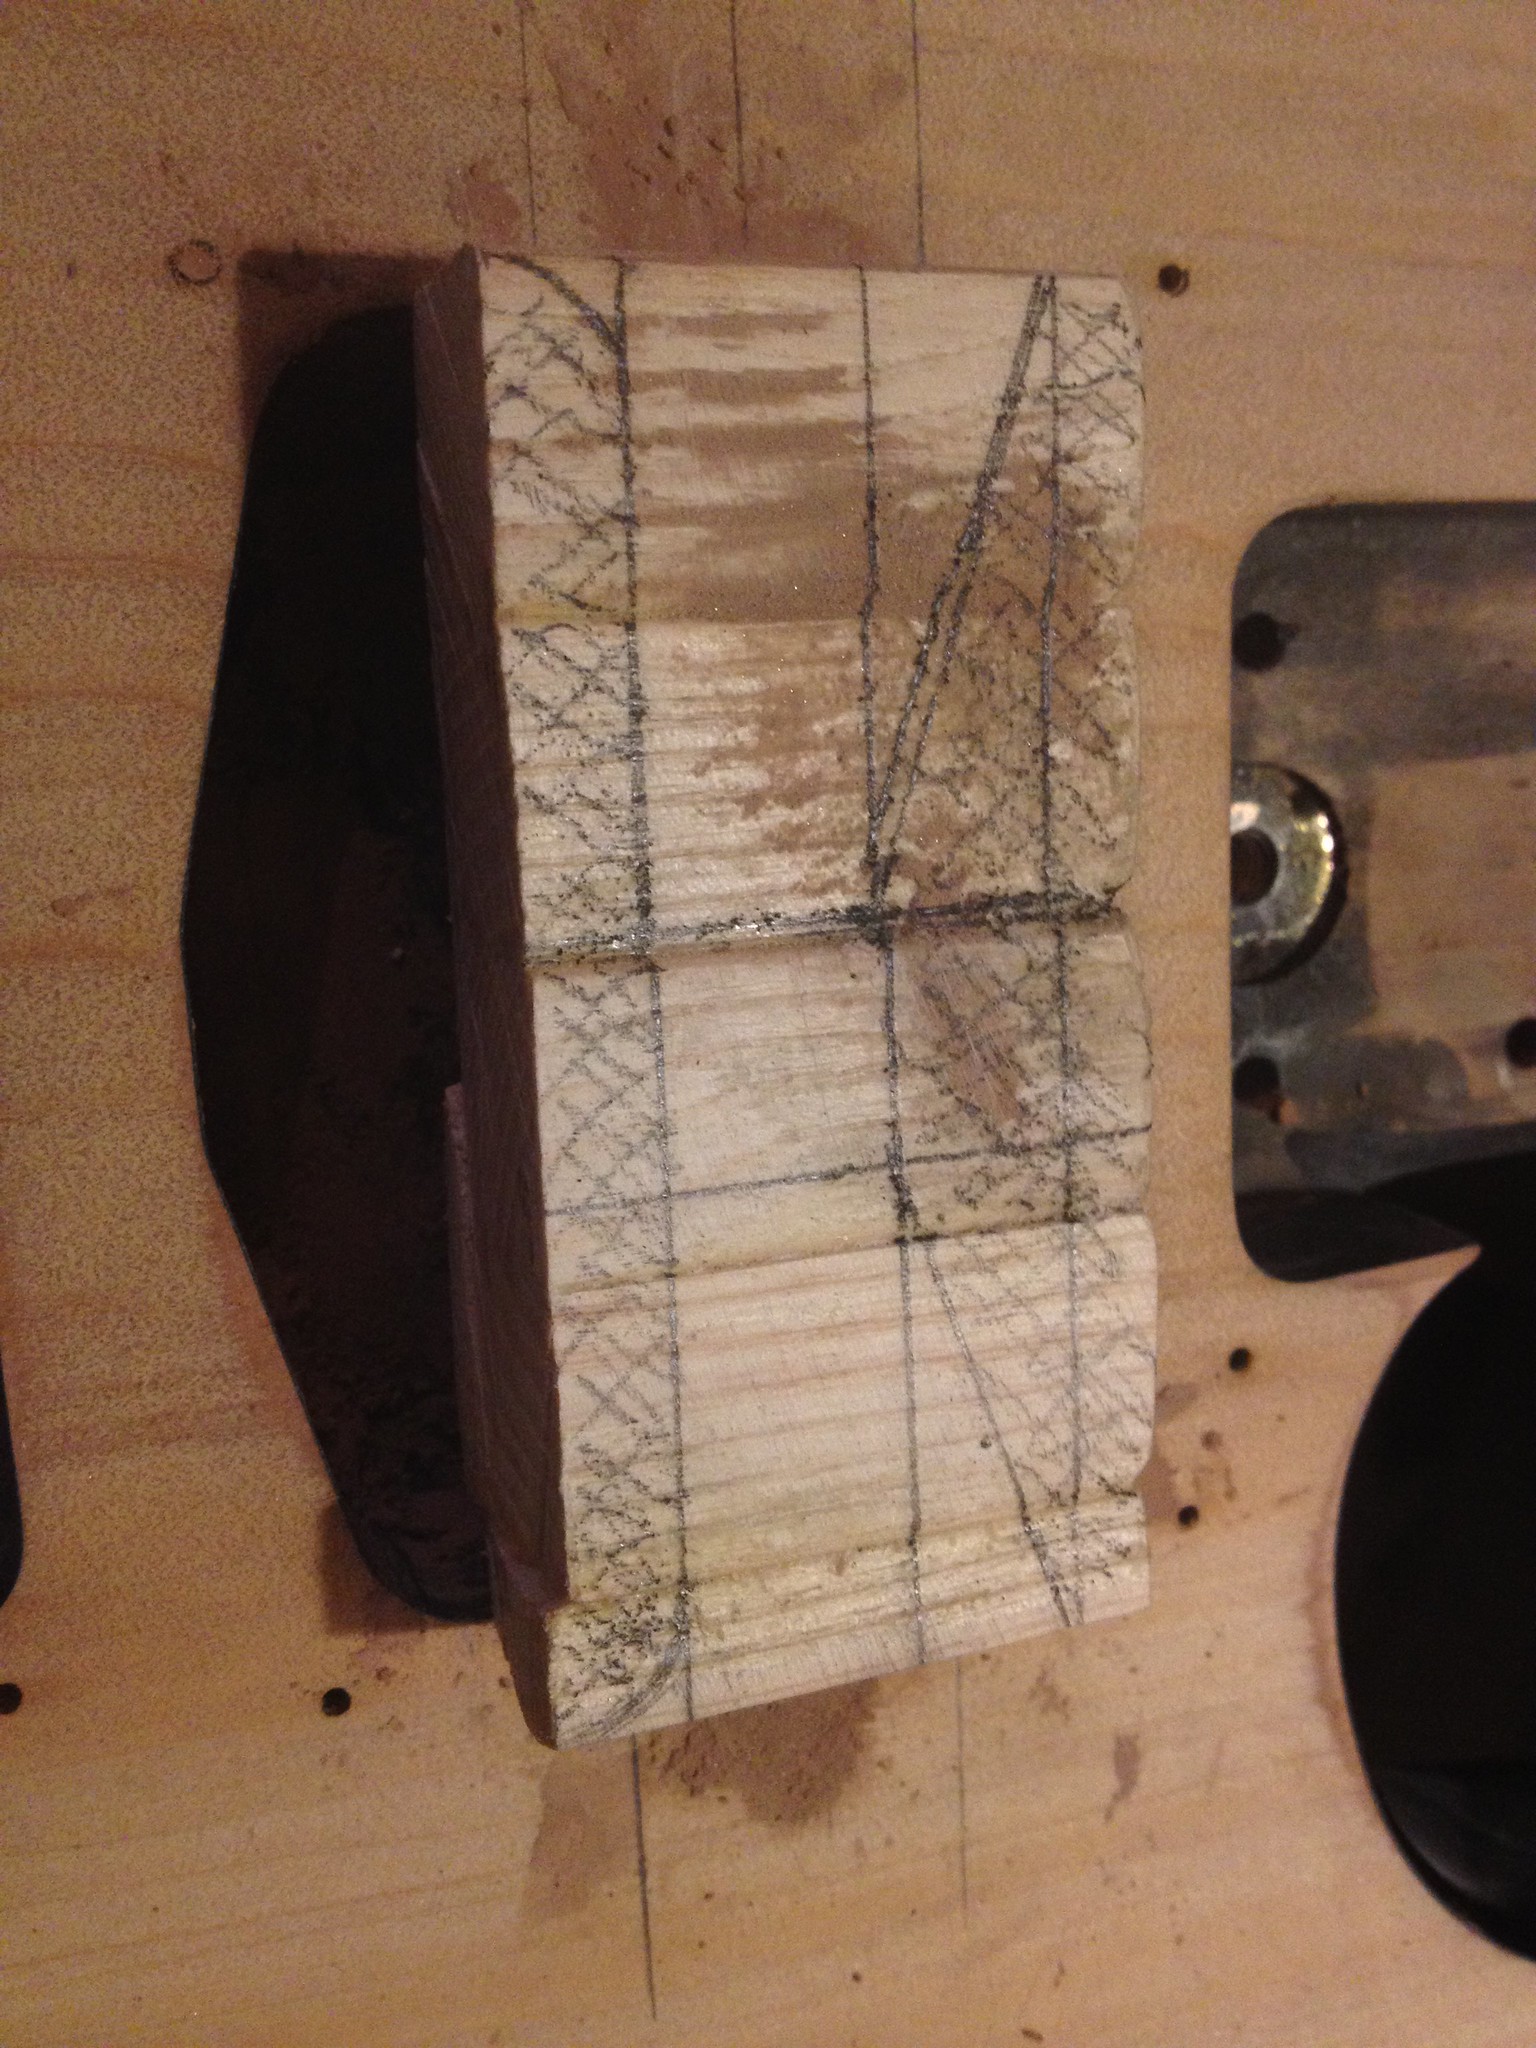
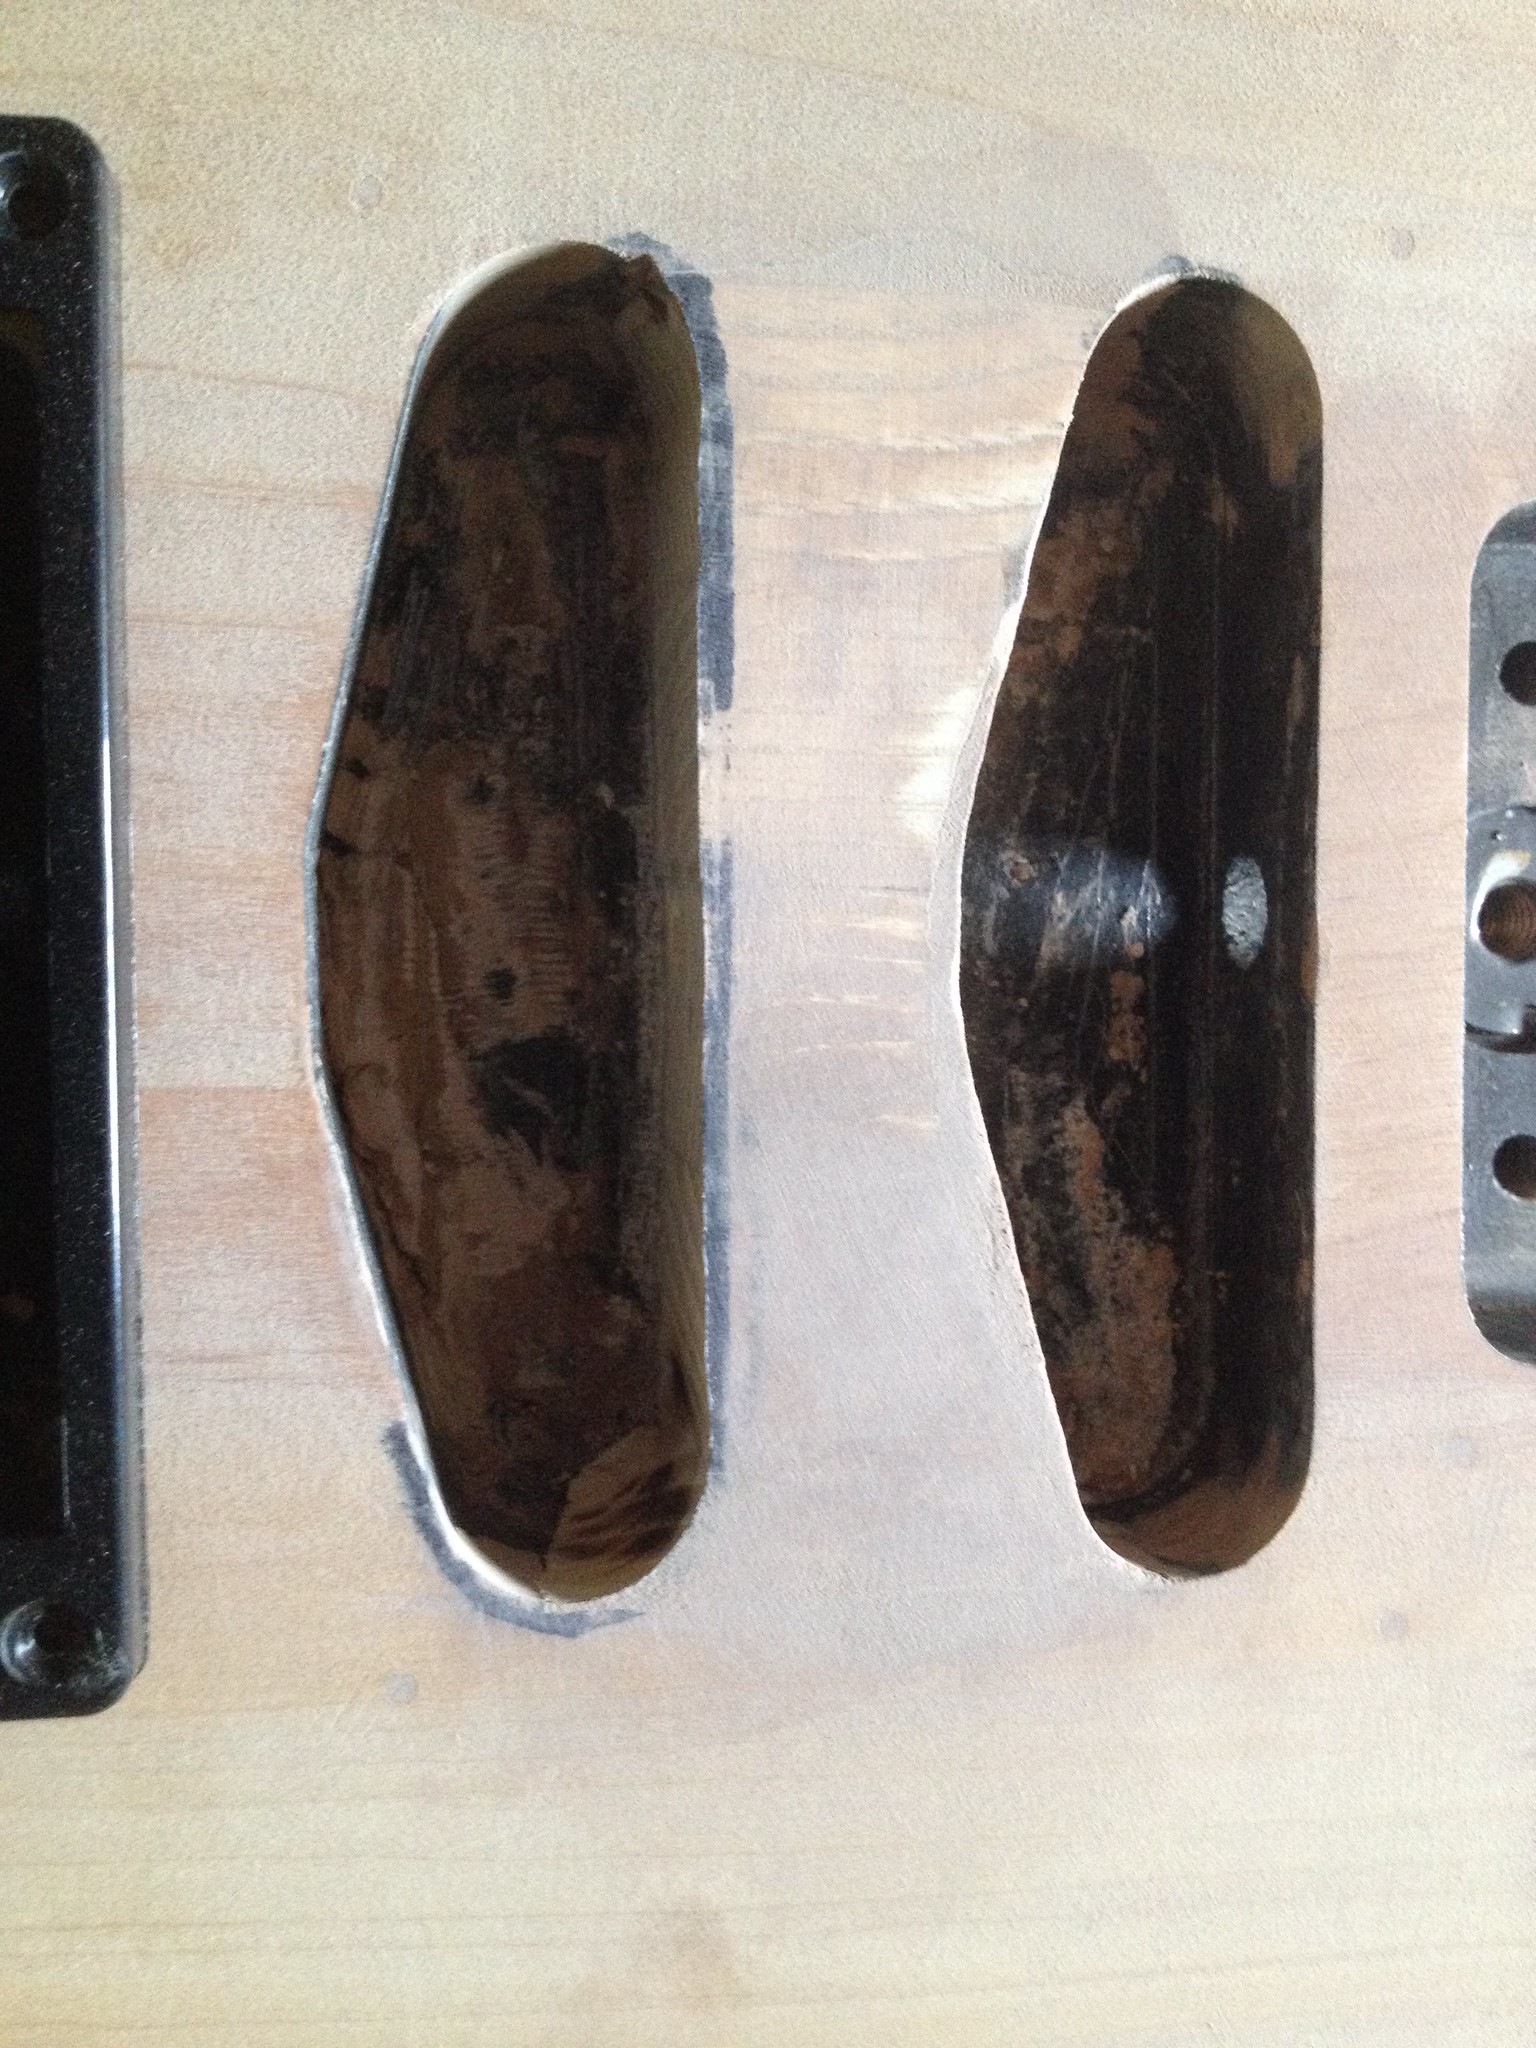
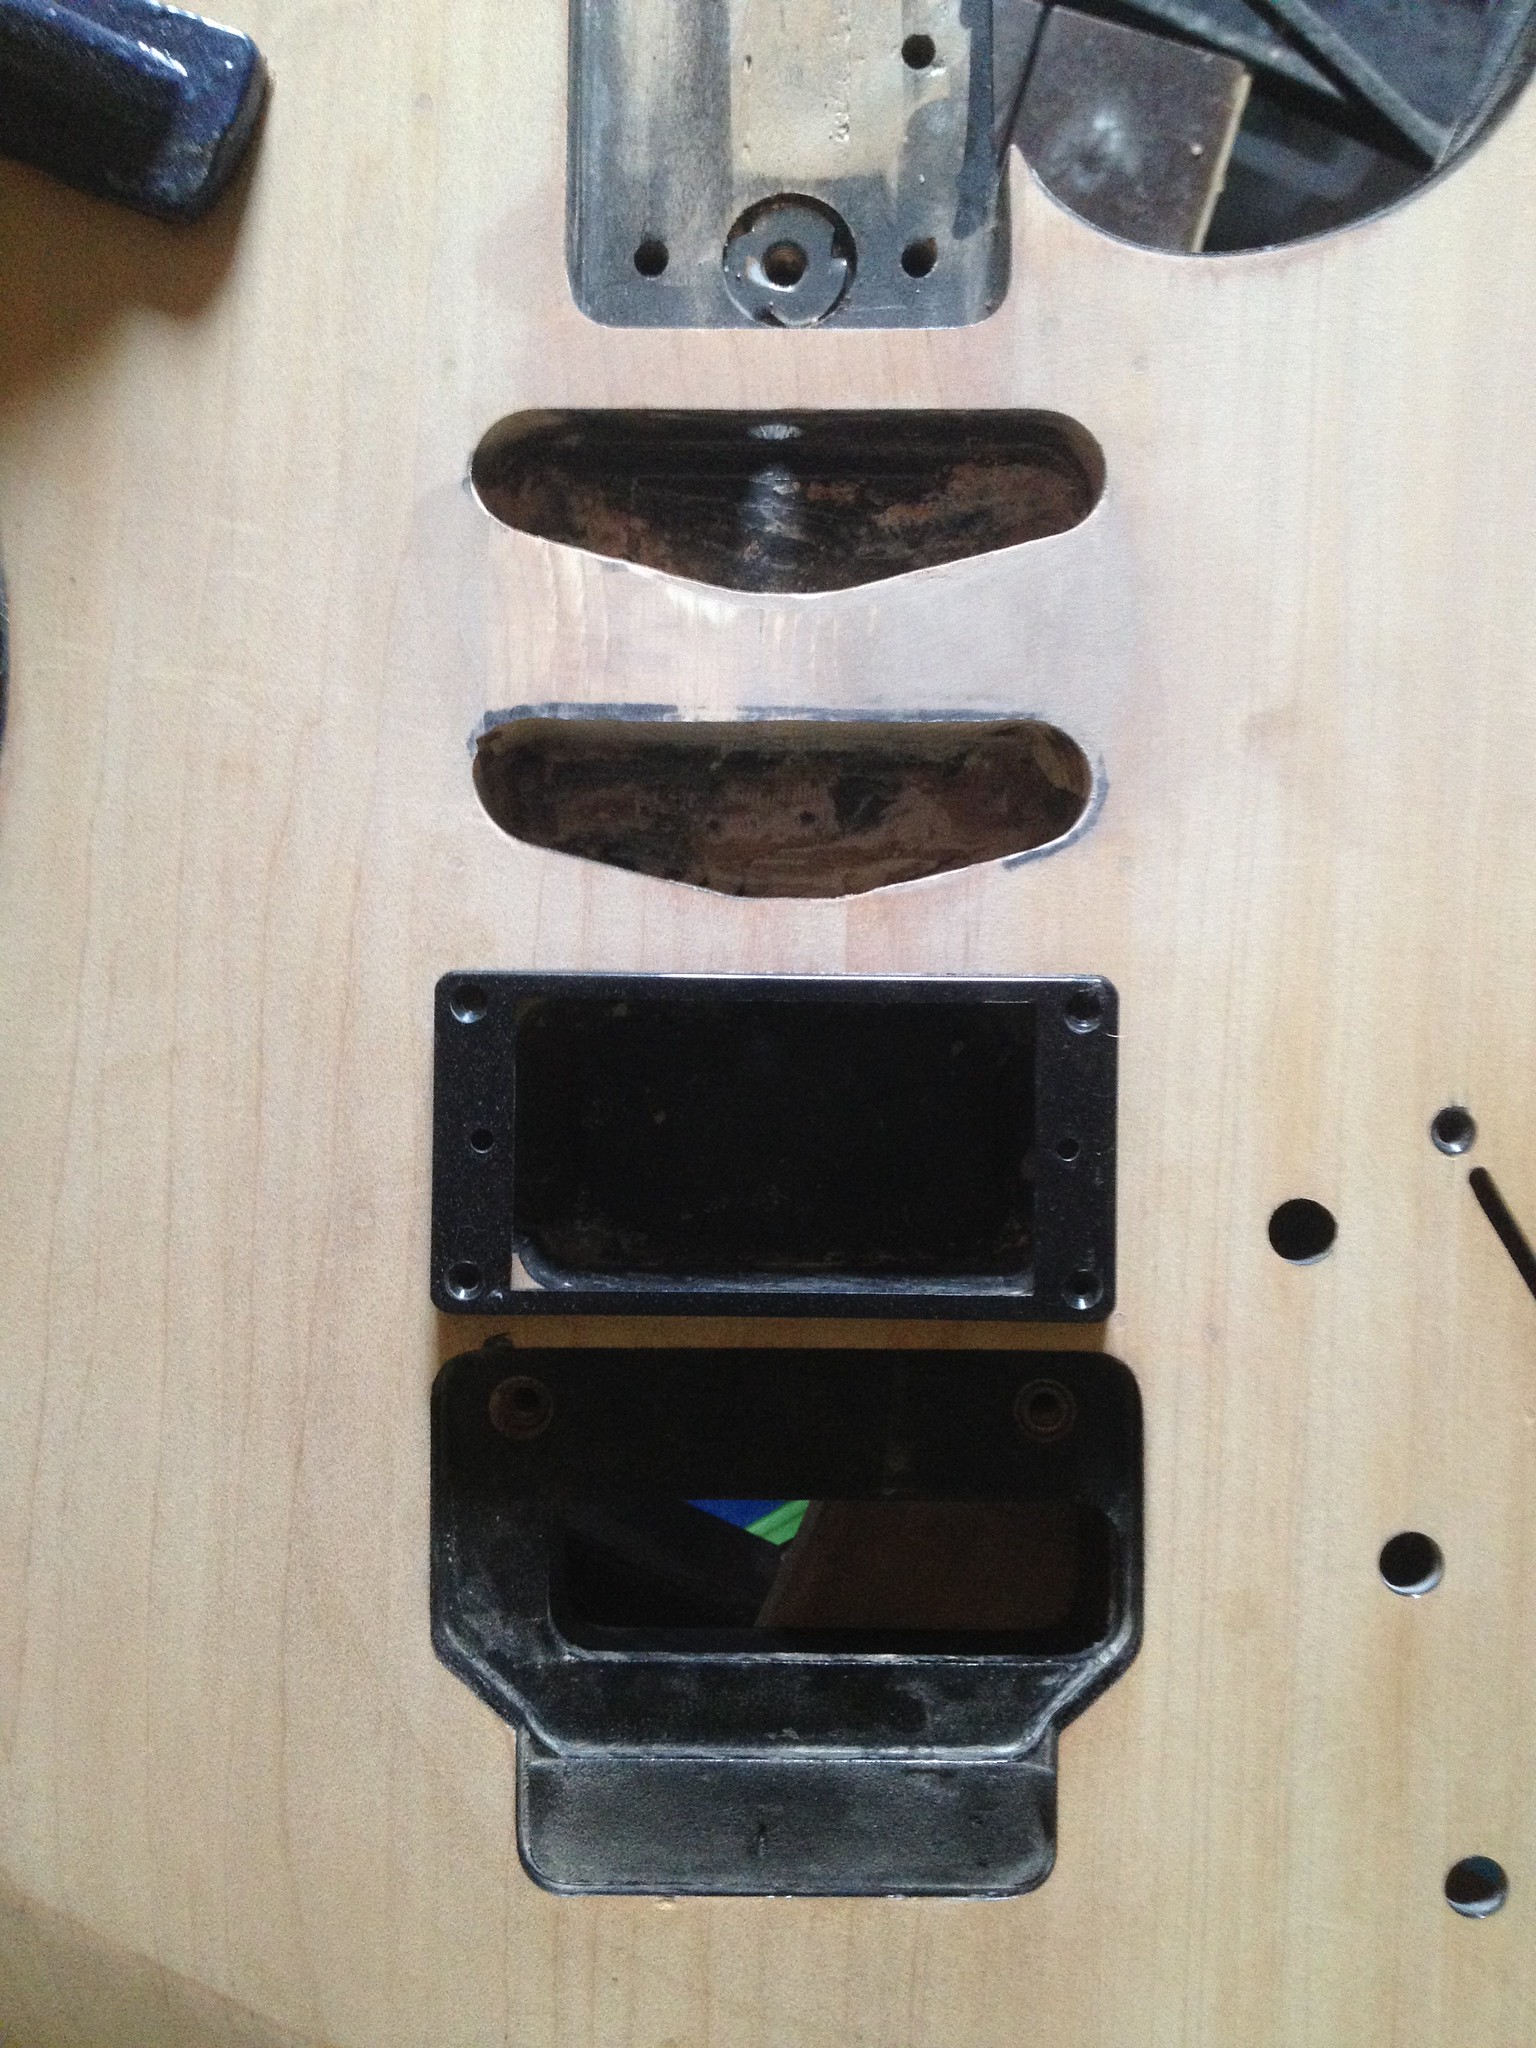
I rough cut it to the size I needed out of the ash block and profiled it to the lower half of a single route, I then (with some force) plugged the area that had been routed. It was glued in with Titebond Original and clamped and left to cure.
 Strat HM Restore by Olley Neale, on Flickr
 Strat HM Restore by Olley Neale, on Flickr
 Strat HM Restore by Olley Neale, on Flickr
 Strat HM Restore by Olley Neale, on Flickr
I then test fitted a set of spare singles I had in the space and they lined up well but needed material removed from the ash block which is how I had planned it.
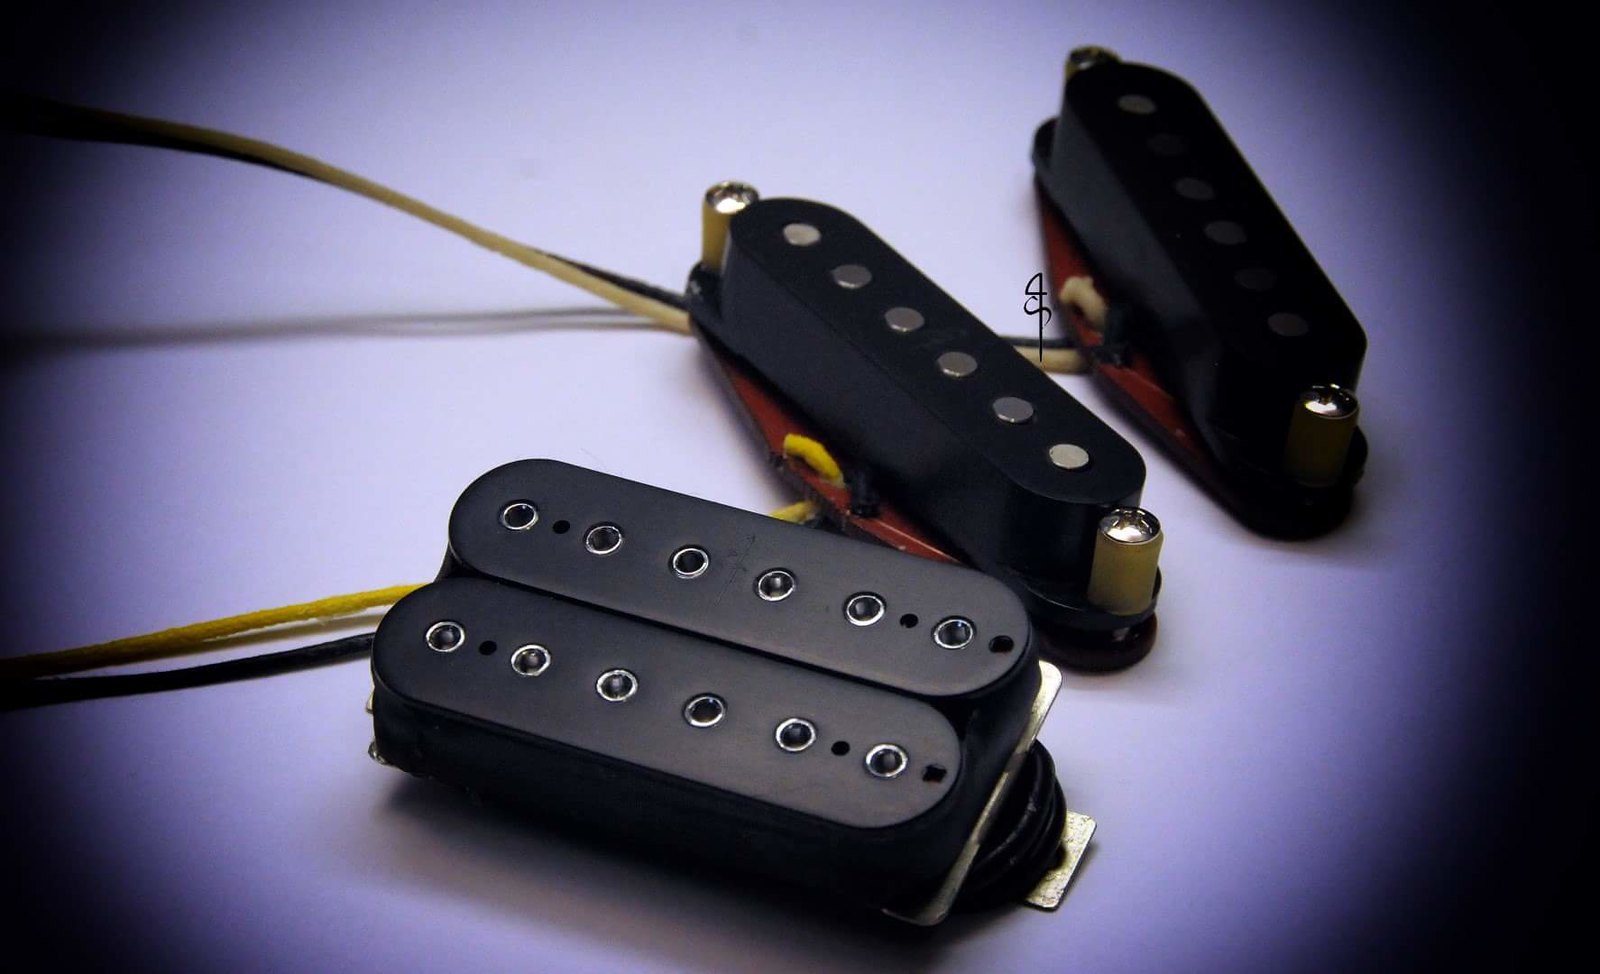 Strat HM Restore by Olley Neale, on Flickr
I ordered a set of custom pickups from 4 Seasons (My brand of choice) and when they arrived I could move onto the next step.
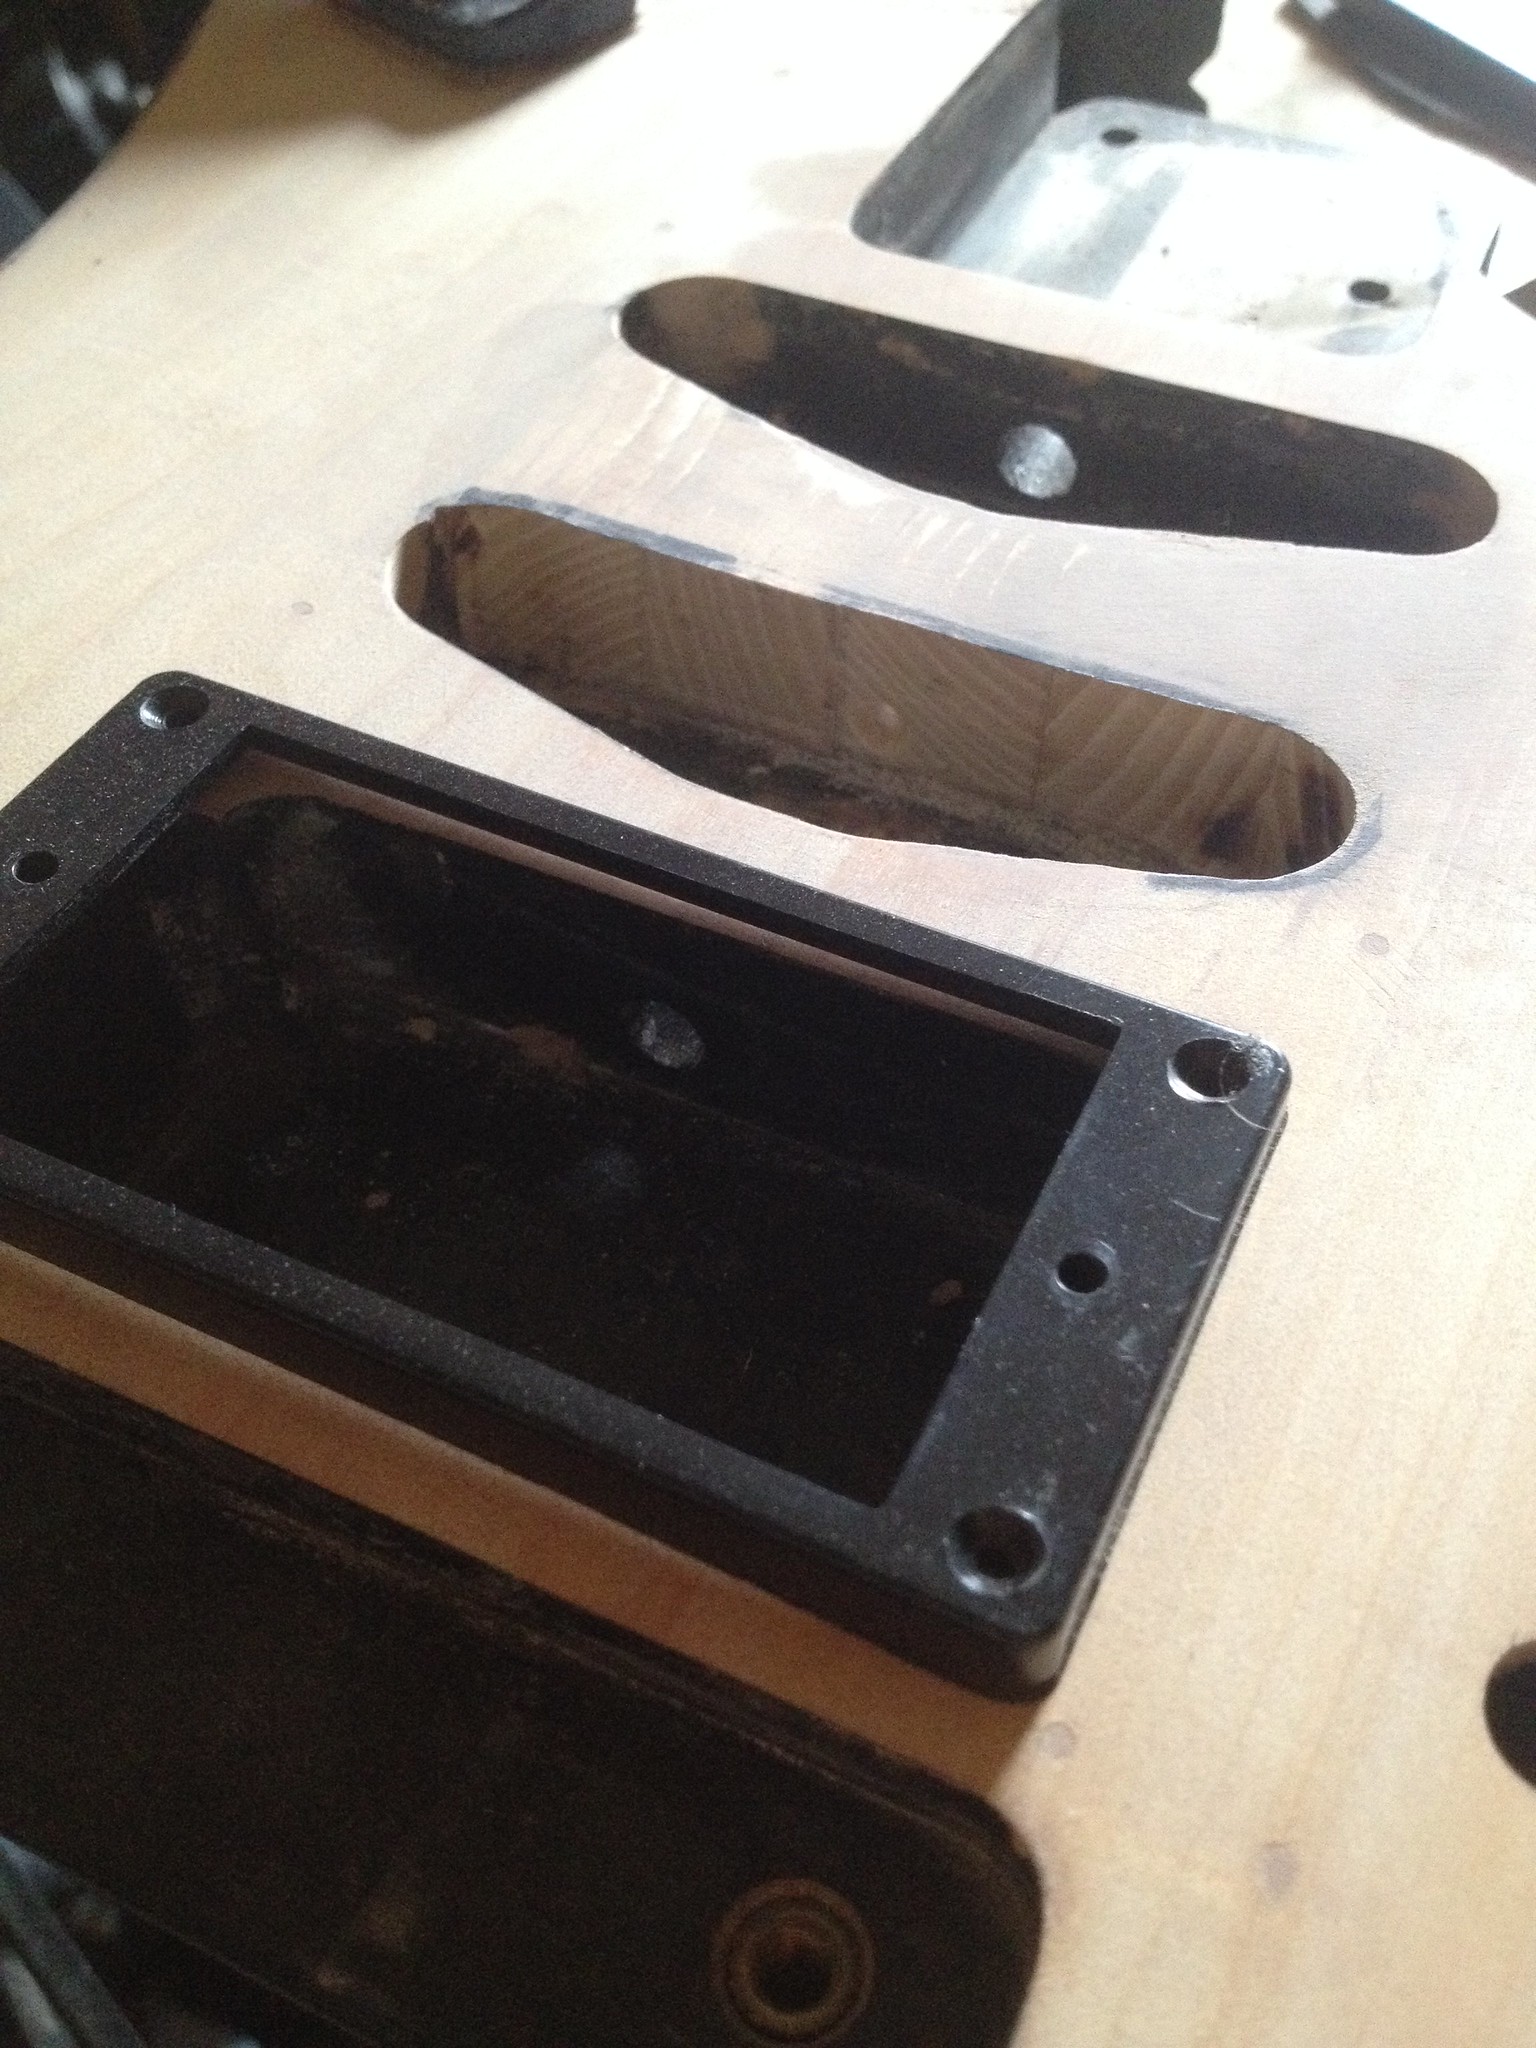 Strat HM Restore by Olley Neale, on Flickr
Once I chiseled out to the correct size for the singles I could move onto filling the spaces left by the router, I opted for chiseling over routing so I could sneak up on the wide size and not over shoot it
When everything fitted in the body I leveled of the top and leveled the plug to match the body, This was a simple enough task but I took my time as the HM has a veneer over the wood and i didn't want to sand through it
After everything was level I could move onto finishing it, I couldn't pick a colour so I sprayed it black, then gold then black again so as it wears it'll cause a nice effect.
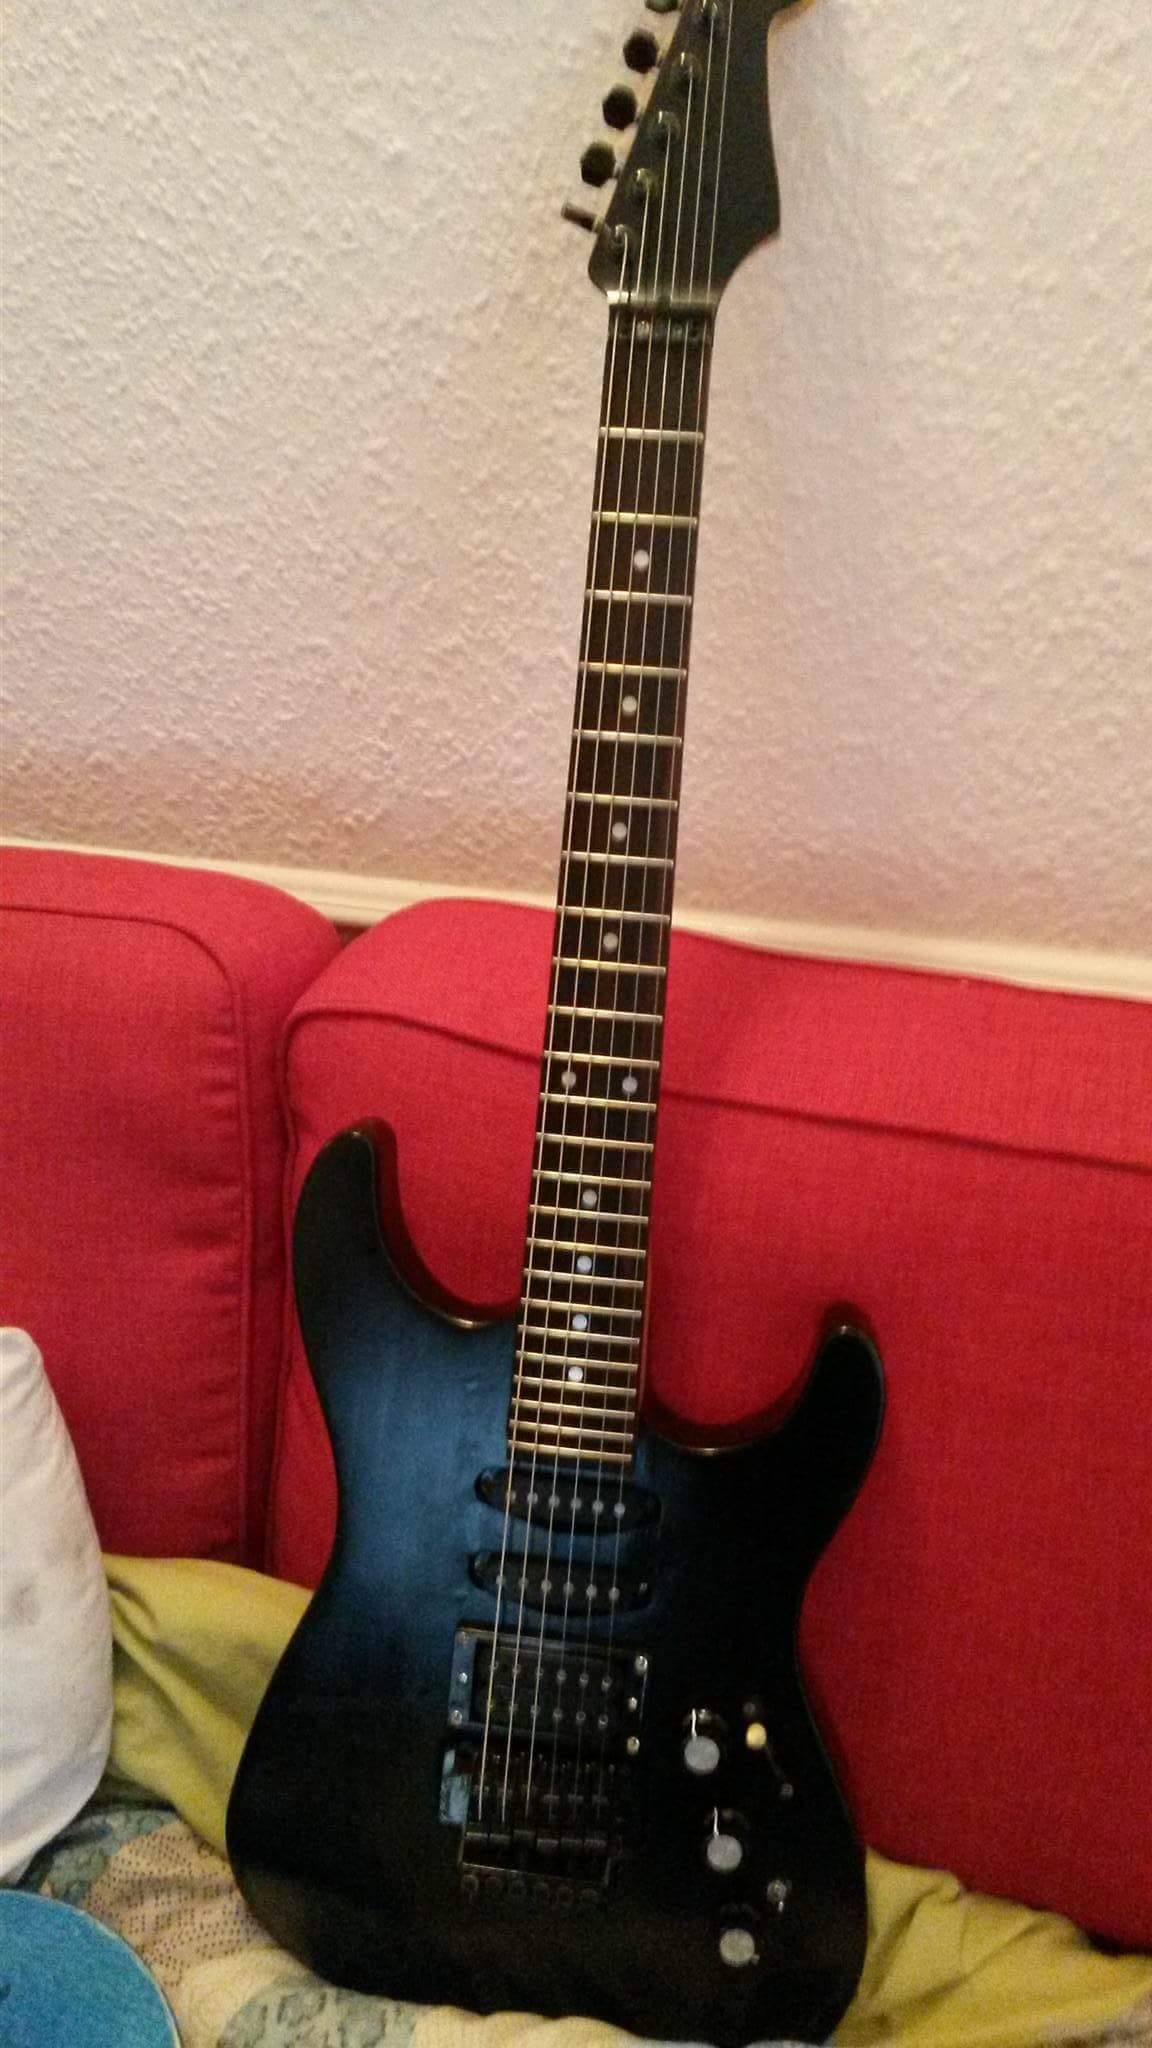 Strat HM Restore by Olley Neale, on Flickr
My final plan is to have my newborn son print his hands on the front and his feet on the back, then clear coat it and save it as a gift when he gets older
Not bad for a £50 find
Hope you enjoyed the photos and the story of the restoration, any questions please ask away, I'm a luthier and guitar repair man so I'll try and answer anything questions
www.flickr.com/photos/ollknot/albums/72157680848938696
It started off as a HM that had been routed for a humbucker during the 90s, the owner installed a pickguard to hide the router job.
 Strat HM Restore by Olley Neale, on Flickr
 Strat HM Restore by Olley Neale, on Flickr
 Strat HM Restore by Olley Neale, on Flickr
 Strat HM Restore by Olley Neale, on Flickr
After disassembling the guitar I could tackle how I was going to go about restoring the to single coil routes.
The usual practice would be to route out a larger area and insert a block of wood cut to size then route out for the singles but I wanted to avoid removing more wood, so i opted for plugging the space with a spare piece of ash I had knocking about.
 Strat HM Restore by Olley Neale, on Flickr
First job was to remove the paint off the top, this revealed a crack in the body that I have since glued and clamped and is now stable. Removing the paint took a fair while even with my random orbital sander, that paint and lacquer is super hard!
 Strat HM Restore by Olley Neale, on Flickr
 Strat HM Restore by Olley Neale, on Flickr
When the top was back to wood I could fill the channels routed in and a few odd spots with wood filler. These were smoothed out and made flush with the original routes.
 Strat HM Restore by Olley Neale, on Flickr
I rough cut it to the size I needed out of the ash block and profiled it to the lower half of a single route, I then (with some force) plugged the area that had been routed. It was glued in with Titebond Original and clamped and left to cure.
 Strat HM Restore by Olley Neale, on Flickr
 Strat HM Restore by Olley Neale, on Flickr
 Strat HM Restore by Olley Neale, on Flickr
 Strat HM Restore by Olley Neale, on Flickr
I then test fitted a set of spare singles I had in the space and they lined up well but needed material removed from the ash block which is how I had planned it.
 Strat HM Restore by Olley Neale, on Flickr
I ordered a set of custom pickups from 4 Seasons (My brand of choice) and when they arrived I could move onto the next step.
 Strat HM Restore by Olley Neale, on Flickr
Once I chiseled out to the correct size for the singles I could move onto filling the spaces left by the router, I opted for chiseling over routing so I could sneak up on the wide size and not over shoot it

When everything fitted in the body I leveled of the top and leveled the plug to match the body, This was a simple enough task but I took my time as the HM has a veneer over the wood and i didn't want to sand through it

After everything was level I could move onto finishing it, I couldn't pick a colour so I sprayed it black, then gold then black again so as it wears it'll cause a nice effect.
 Strat HM Restore by Olley Neale, on Flickr
My final plan is to have my newborn son print his hands on the front and his feet on the back, then clear coat it and save it as a gift when he gets older

Not bad for a £50 find

Hope you enjoyed the photos and the story of the restoration, any questions please ask away, I'm a luthier and guitar repair man so I'll try and answer anything questions


